C012-C9 Complete ImagesPlus 5.0 Processing Example
A complete work flow for processing C012-C9 RGB data and H-alpha data is shown below.
- Process RGB Image
- Process H-alpha Image
- Combine H-alpha and RGB Images to Enhance Red
- Refine H-alpha and RGB Combination Image
Each step uses normal blend mode and 100% opacity unless otherwise noted. Many steps are explained in detail by links to additional tutorials. See ImagesPlus 5.0 Processing Tutorials for a list of all tutorials by function.
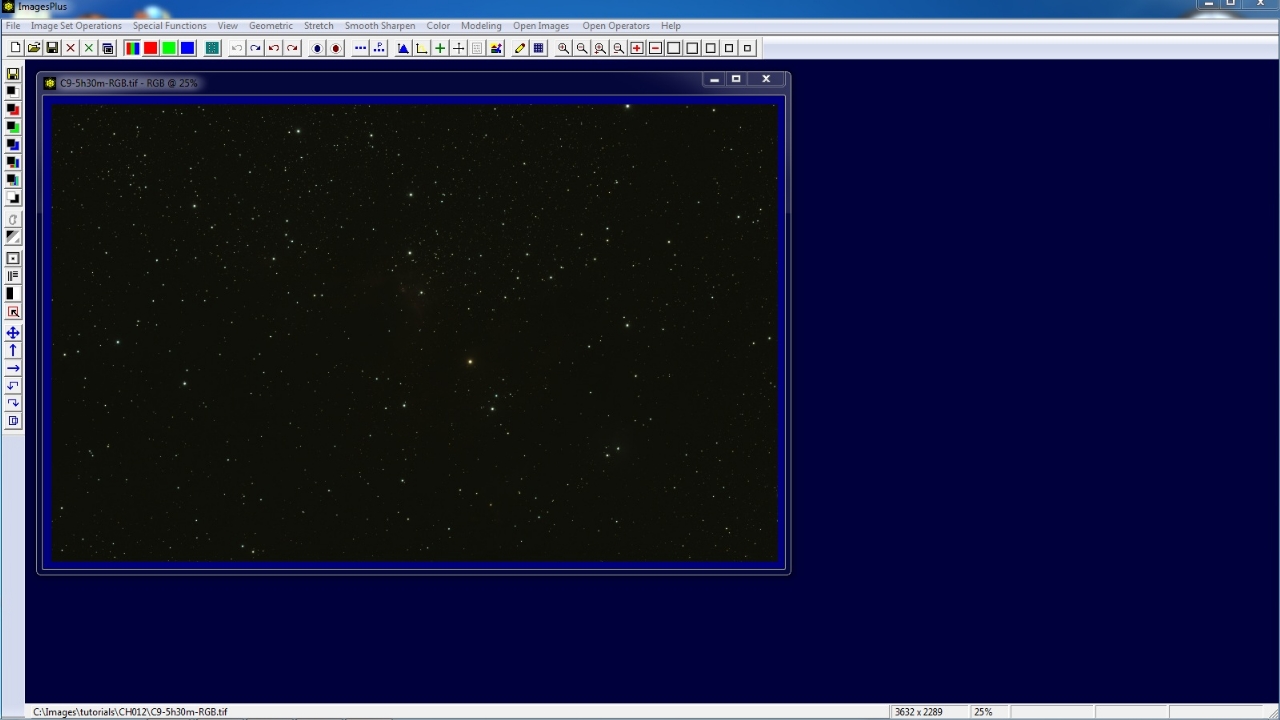
Step 1) Process RGB Image
Initial stacked but otherwise unprocessed color RGB image.
 |
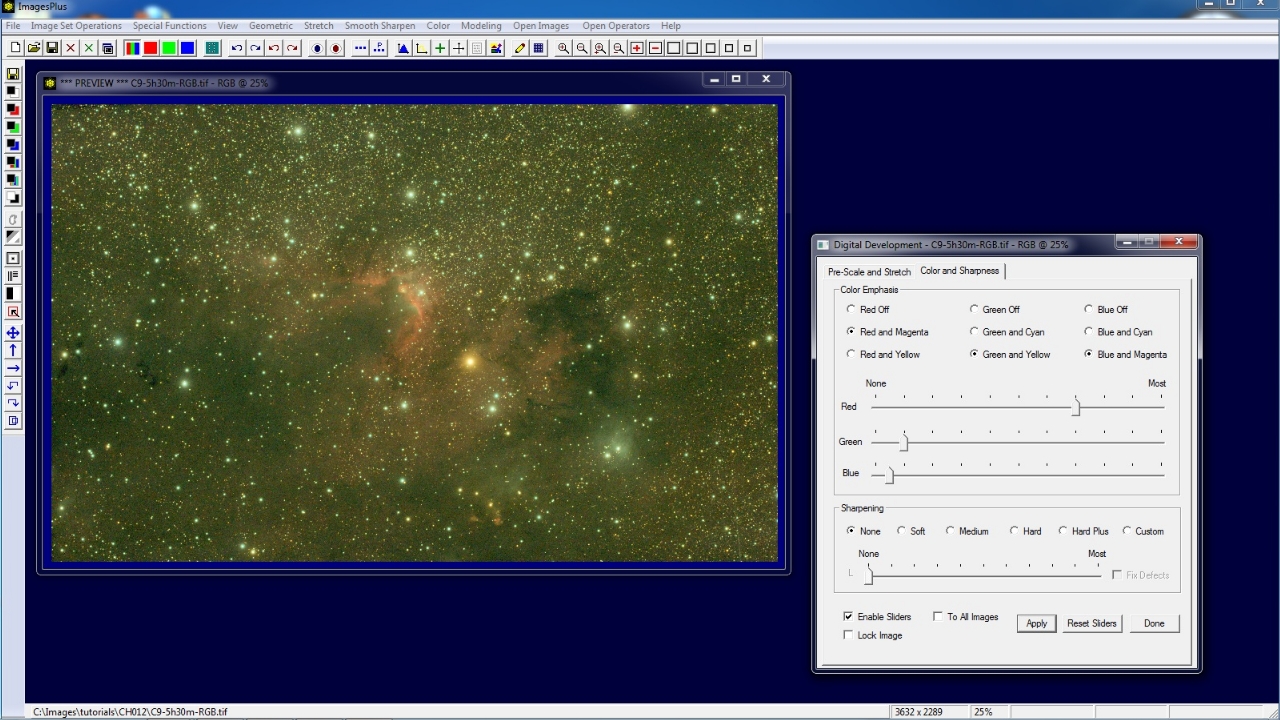
Stretch | Digital Development is used for the initial brightness increase. First the Break-Point Highlight slider is moved to the left to increase brightness. Next the Background Weight slider is moved to the left so that the background is dark gray and not black. HDR pre-stretch scale function is set to nth Root and the Root slider is moved to the left to increase brightness of the faint areas without increasing brightness of the lighter areas of the image.
For details on using Digital Development see Initial Digital Development Stretch.
 |
Color emphasis on the Color and Sharpeness tab of Digital Development is used to increase color.
 |
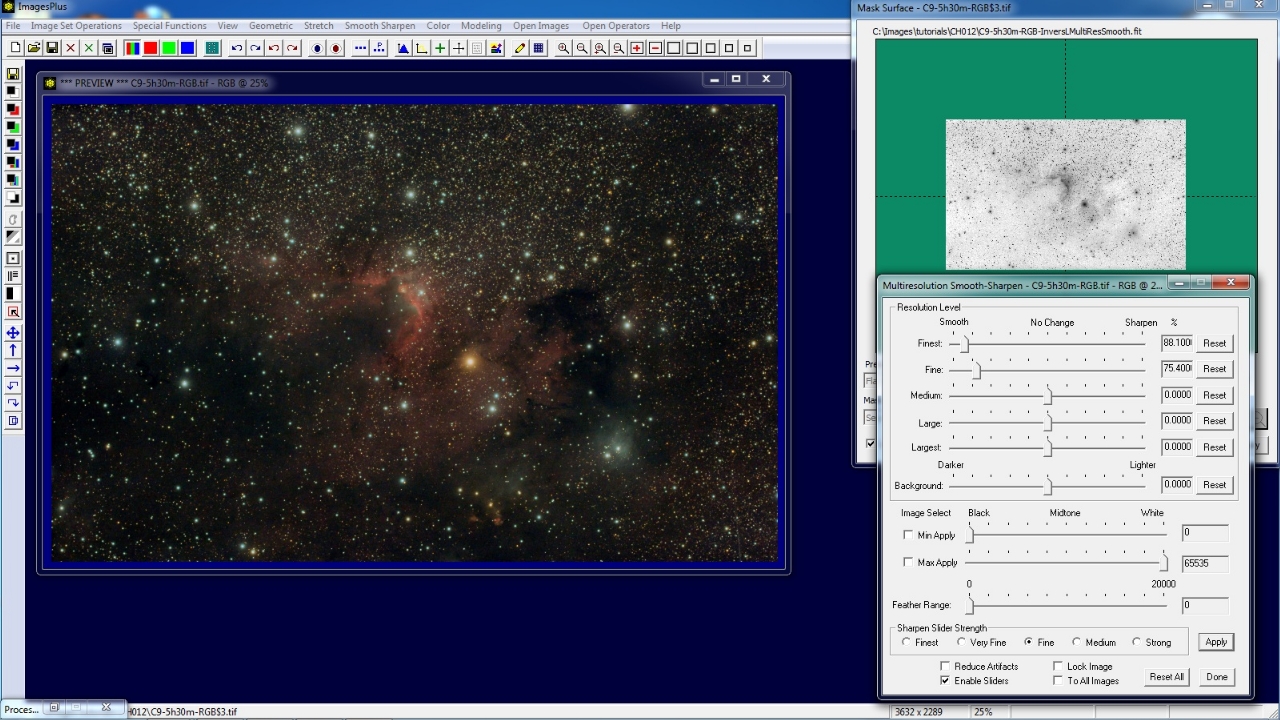
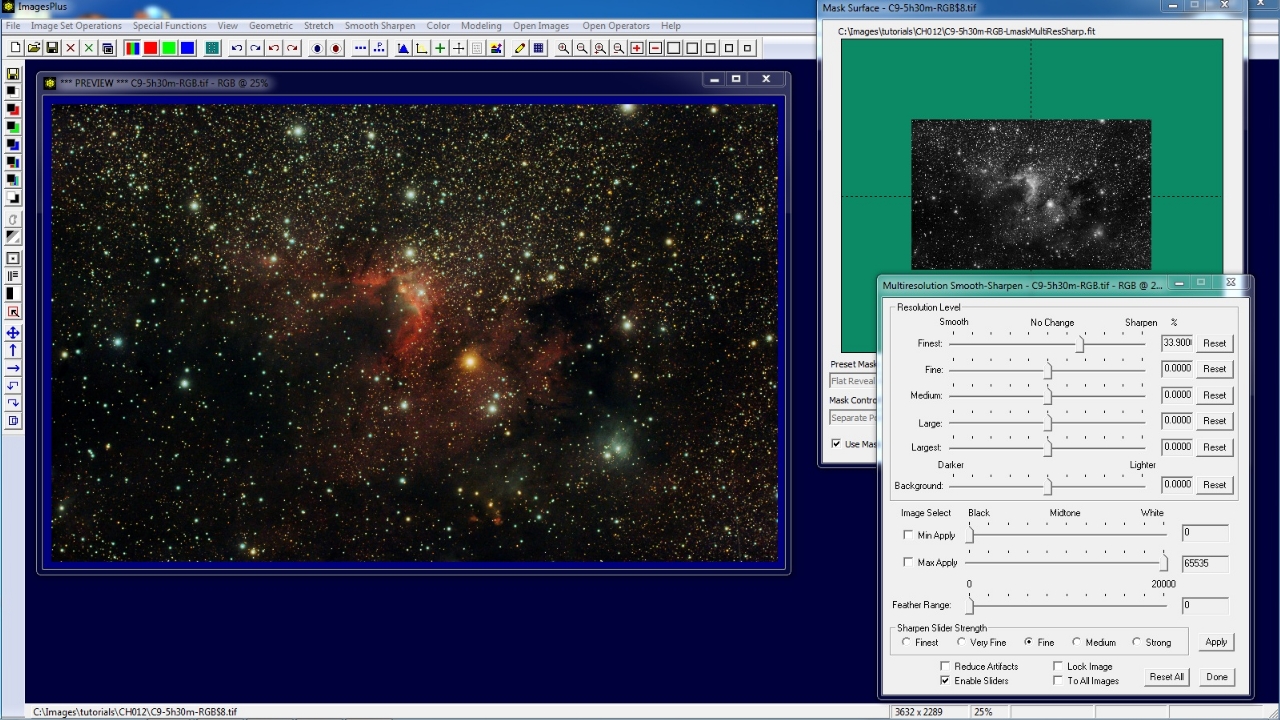
Multiresolution Smooth-Sharpen is used with a luminance mask to sharpen the brighter areas with detail.
 |
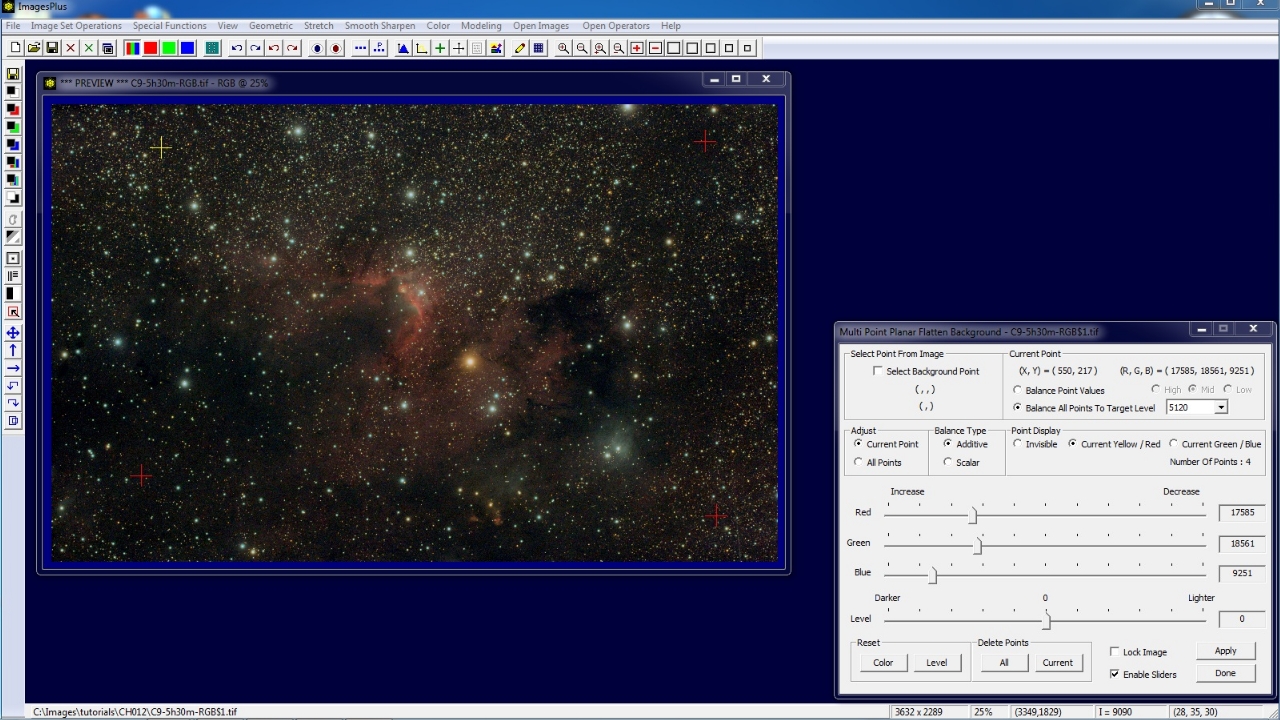
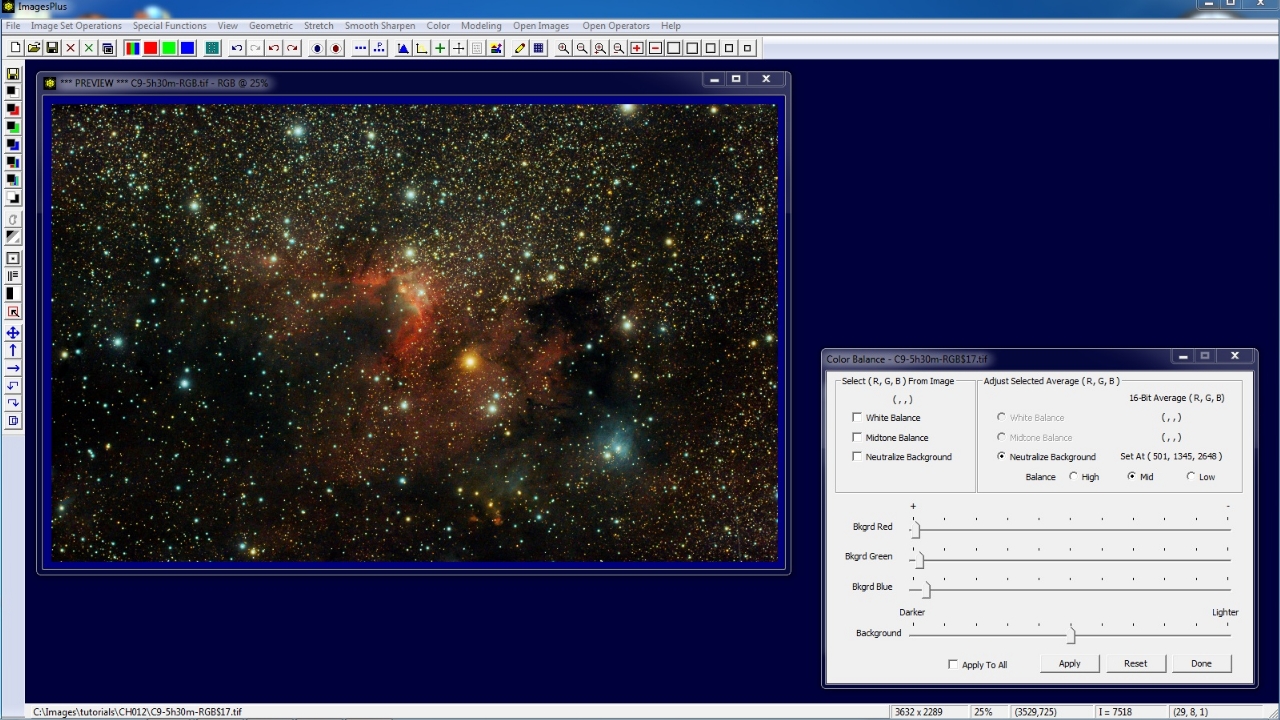
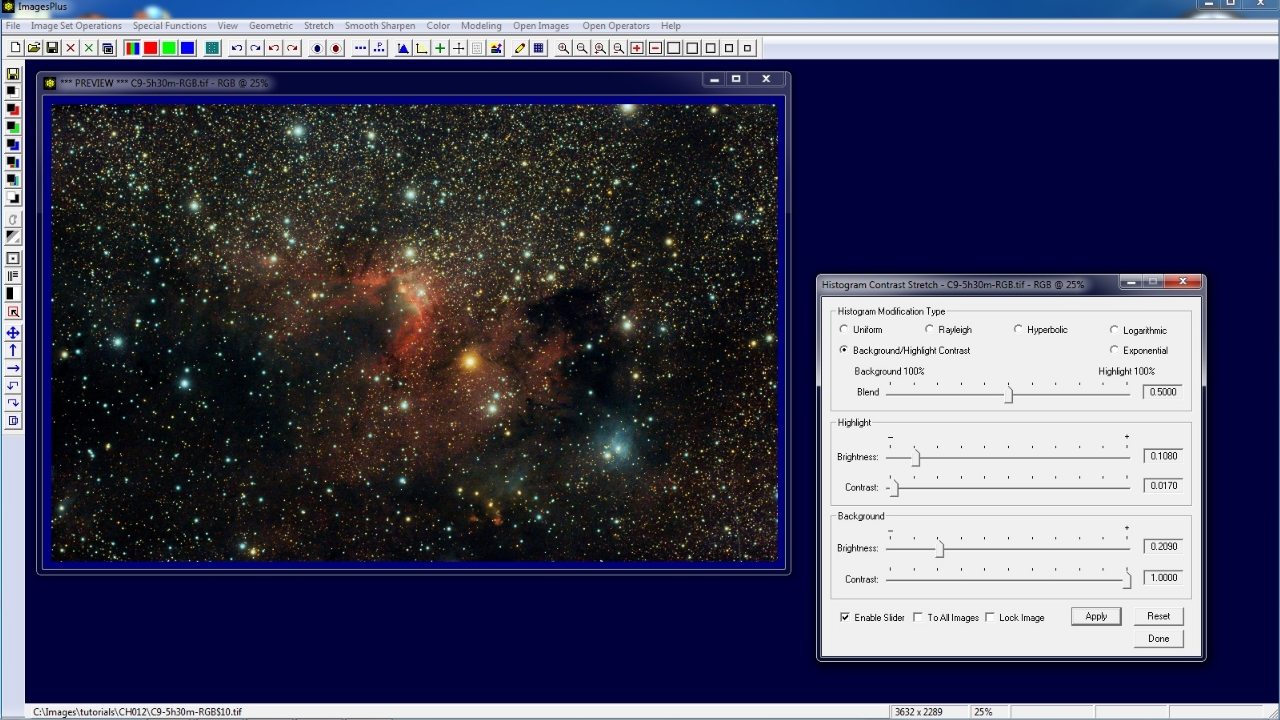
Stretch | Histogram Contrast Stretch is used to perform a high dynamic range stretch of the image to make the faint areas brighter without making the bright areas of the image too bright.
 |
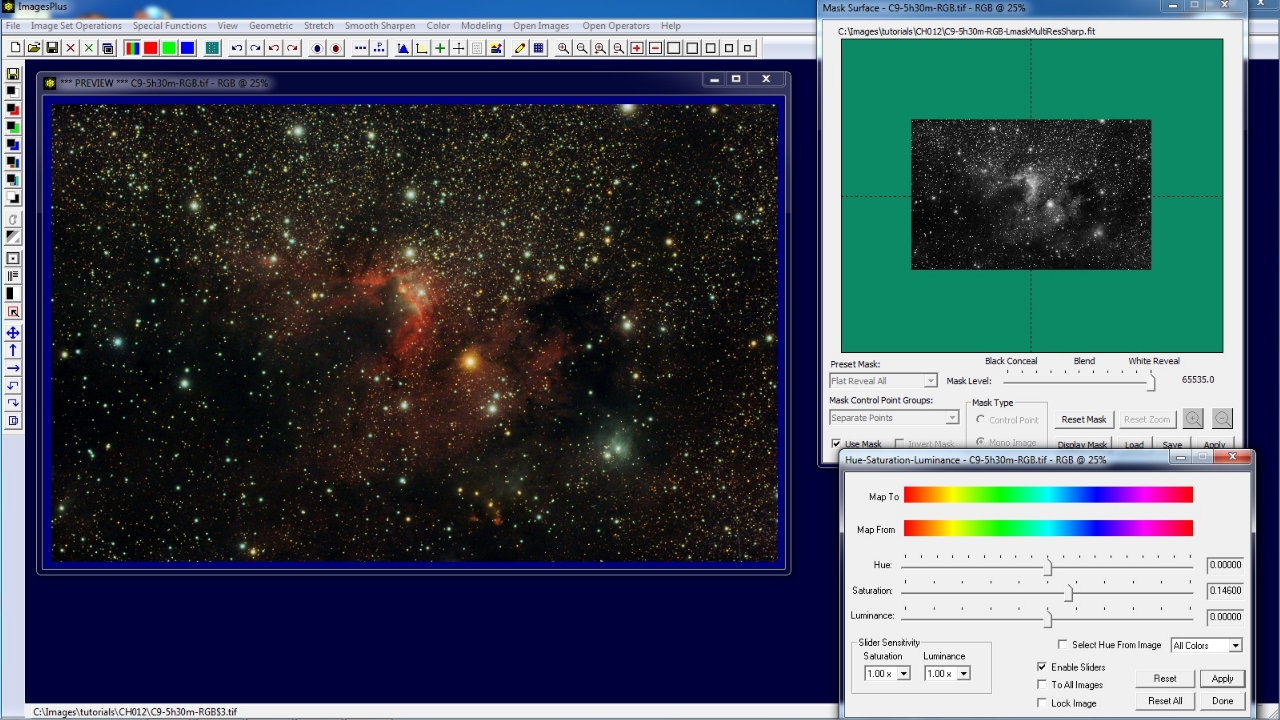
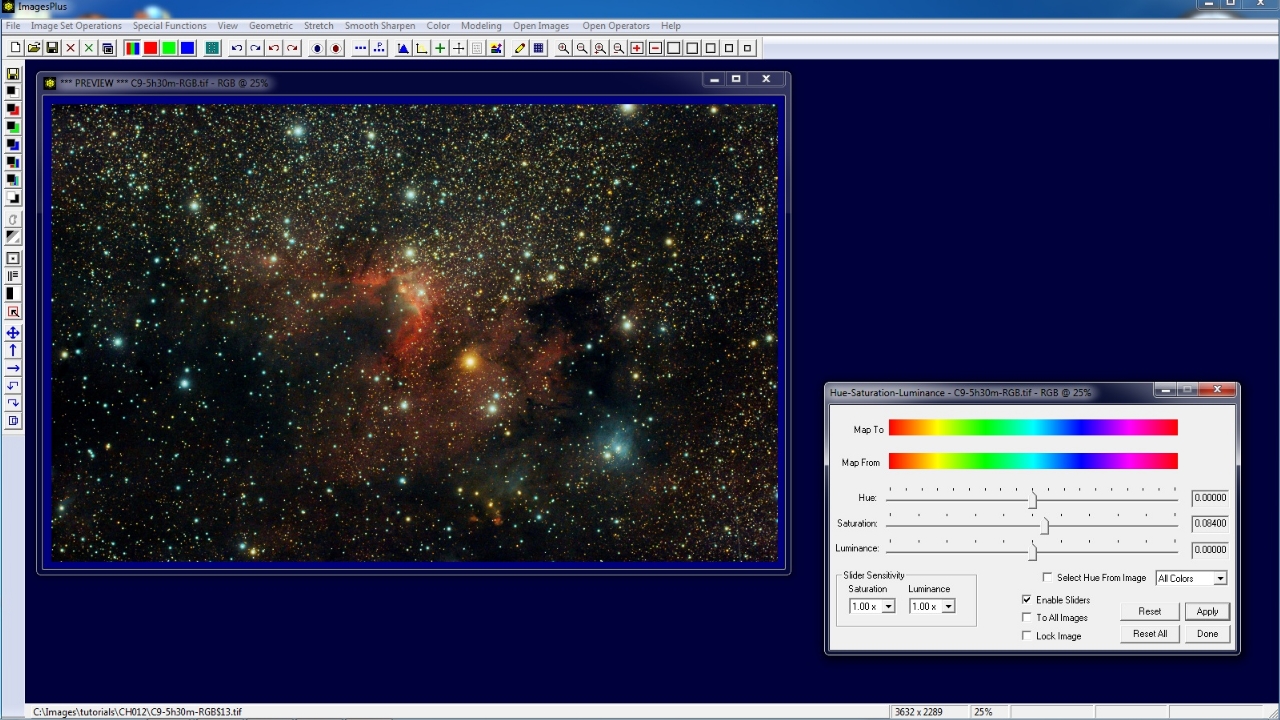
Mild color saturation increase applied to the entire image.
 |
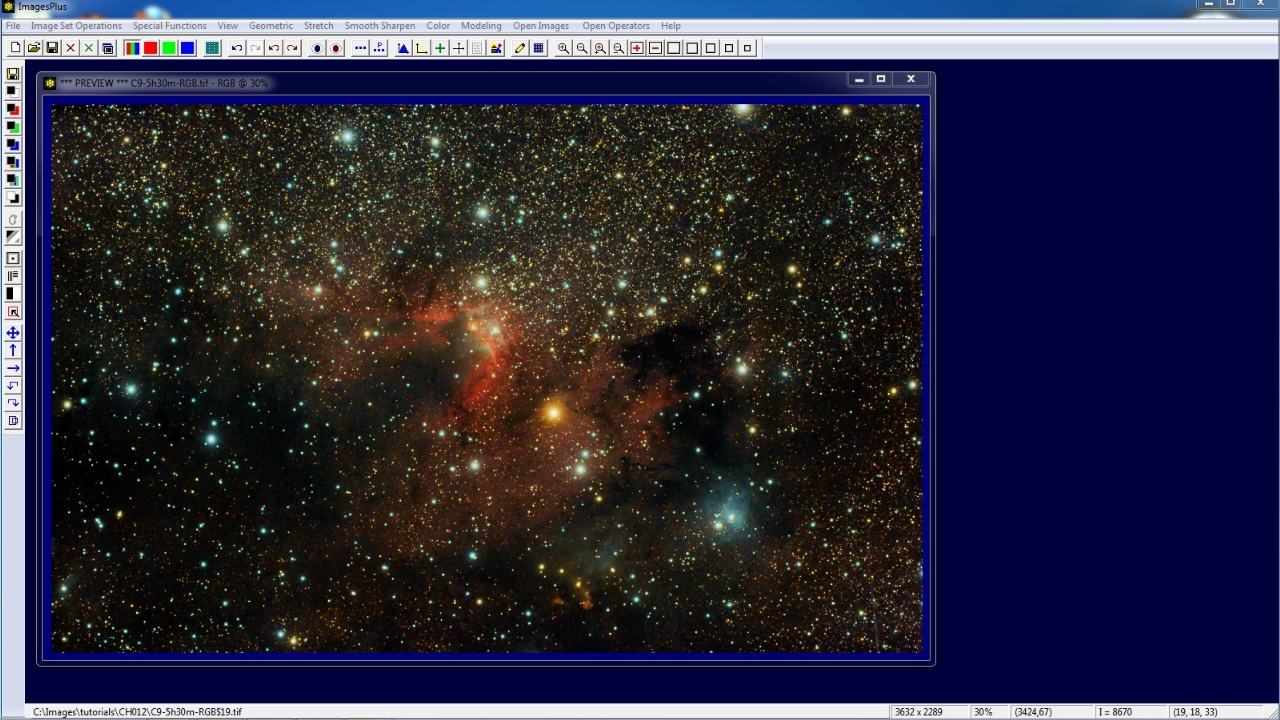
Final processed color RGB image without H-alpha image data.
 |
Step 2) Process H-alpha Image
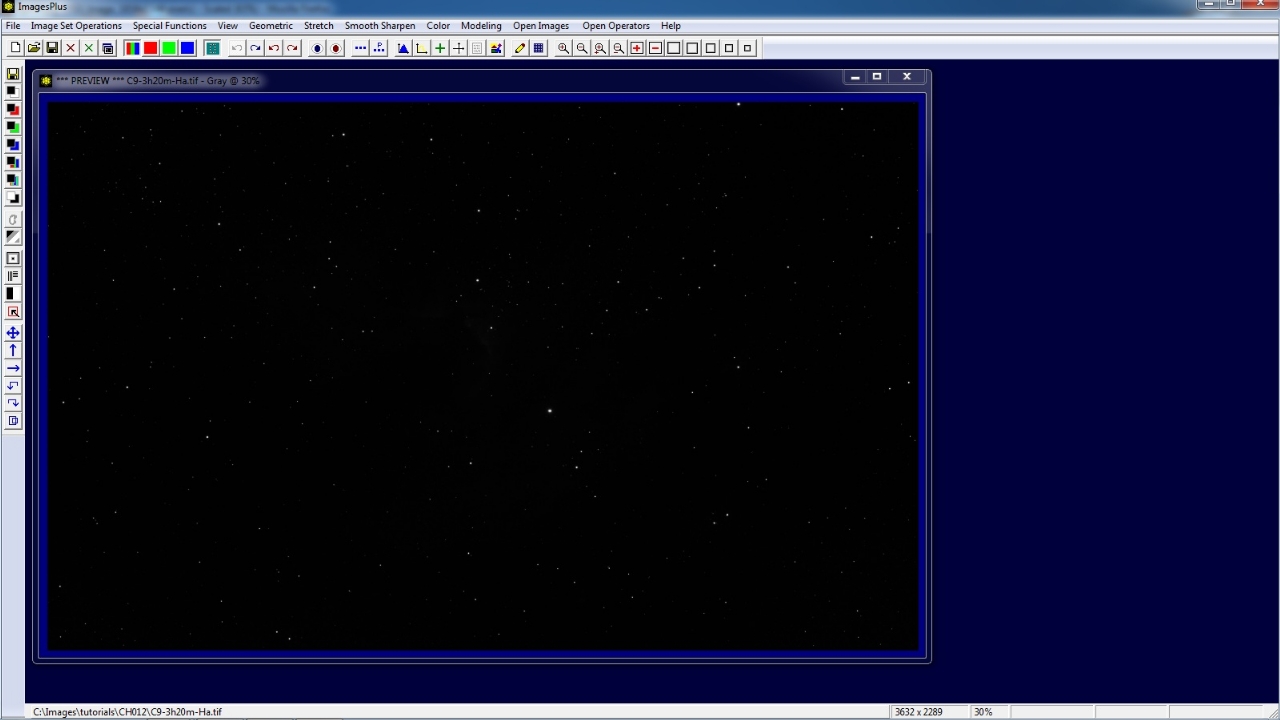
Initial stacked but otherwise unprocessed H-alpha image.
 |
Initial brightness and contrast increase performed with Digital Development. The image could use more exposure time but is still useful for boosting red in the color RGB image.
 |
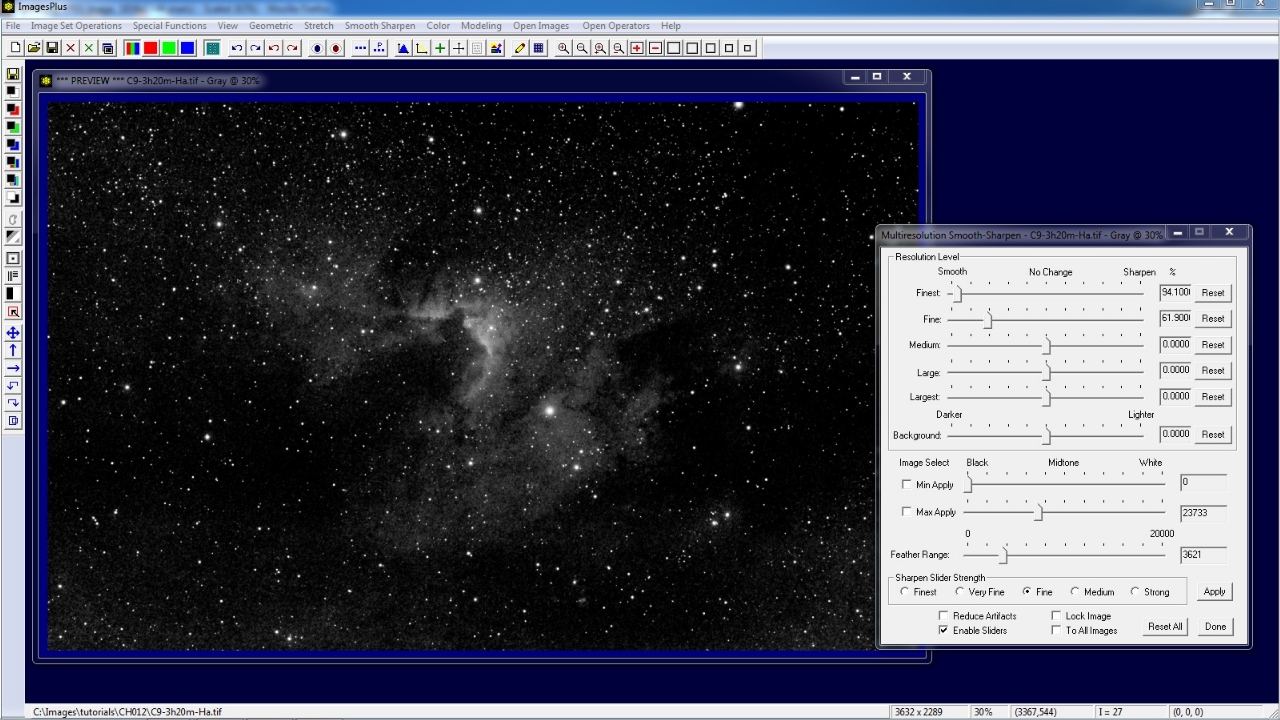
Darker areas smoothed with Multiresolution Smooth-Sharpen. Note that a feathered luminance range is set using the Min Max Apply sliders on Multiresolution Smooth-Sharpen.
 |
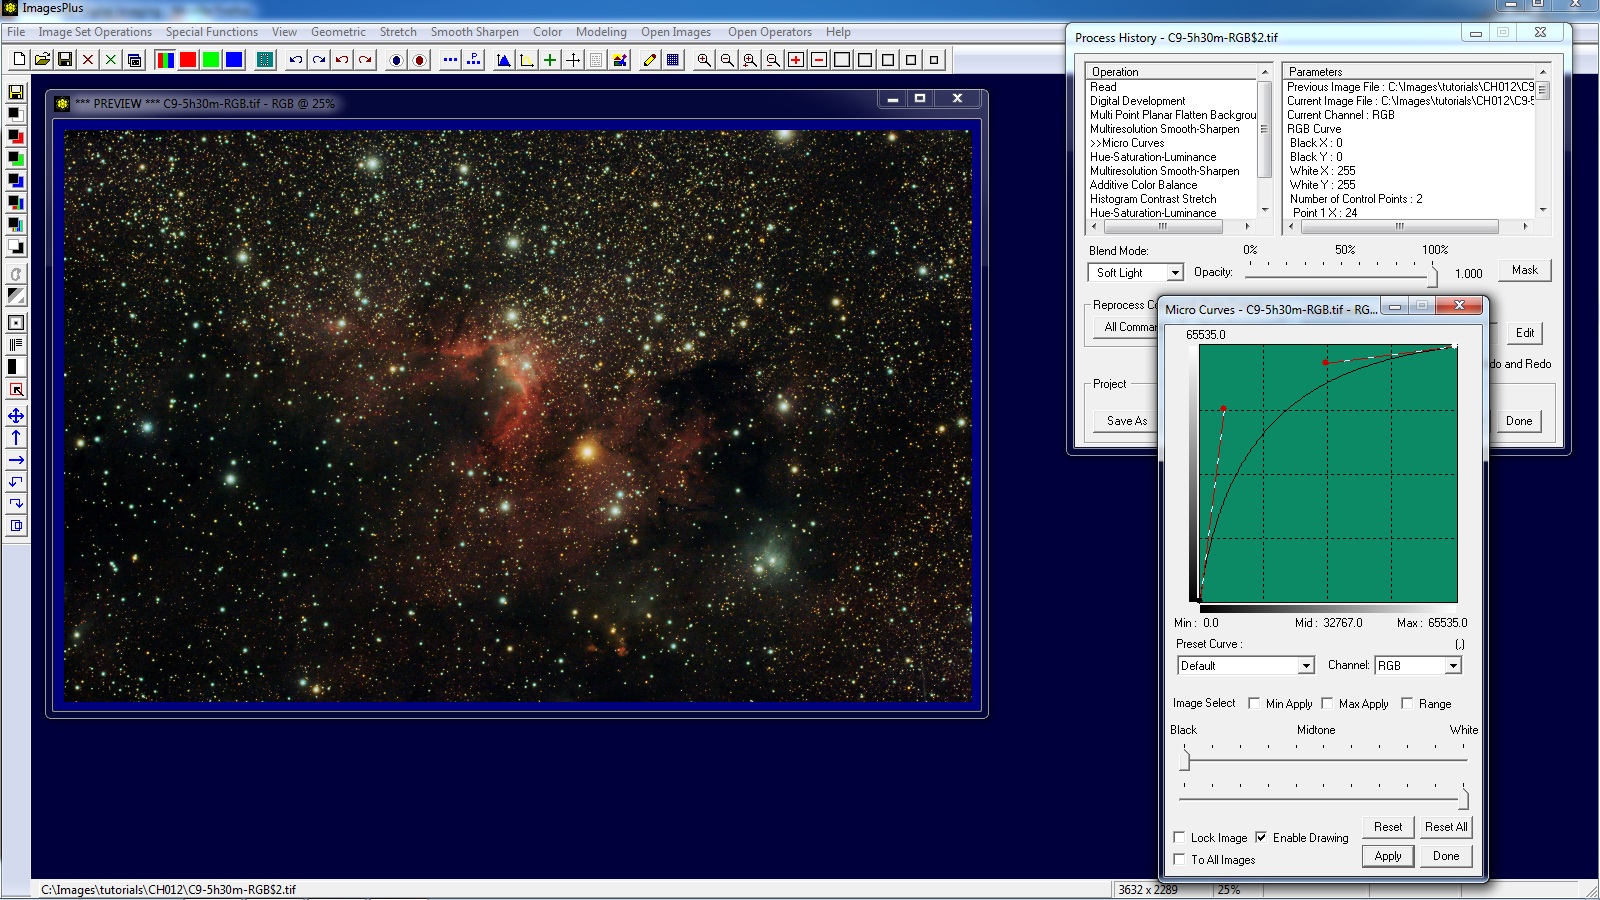
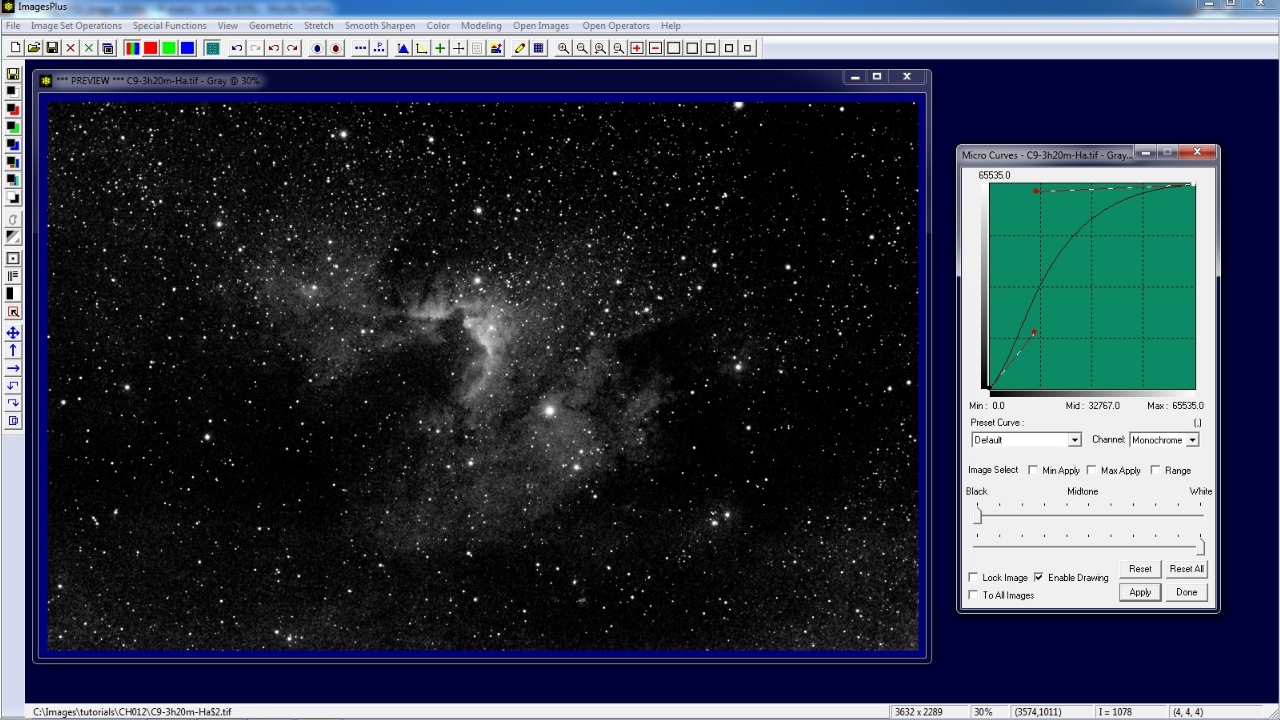
Mild brighness increase is applied using Micro Curves.
 |
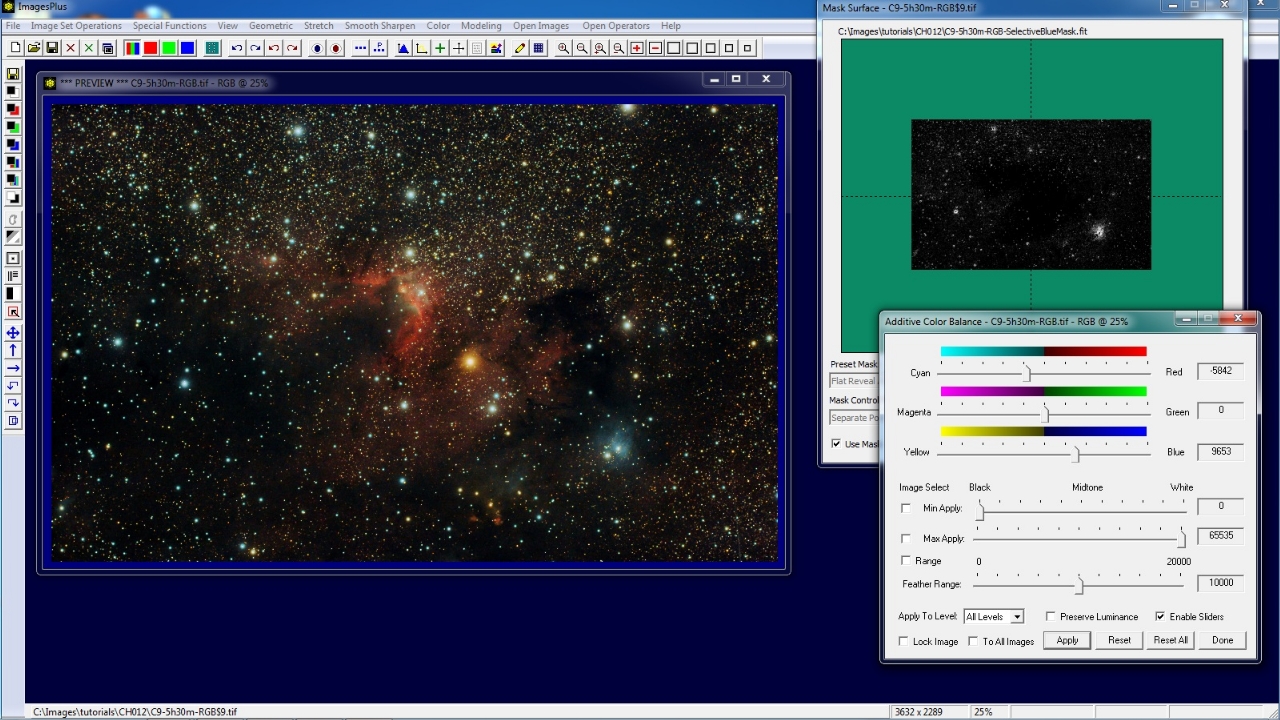
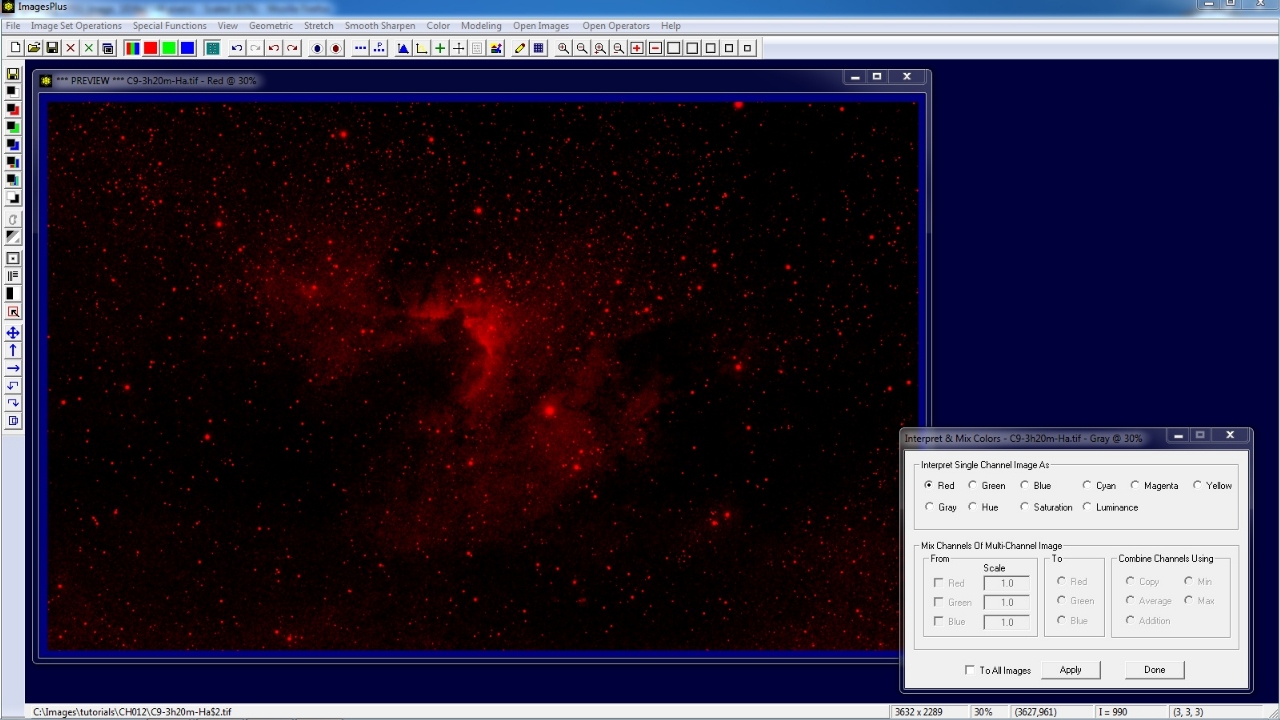
The gray H-alpha image is converted to red data using Color | Interpret & Mix Color. The red H-alpha image will be layered on top of the final color RGB image to enhance red.
 |
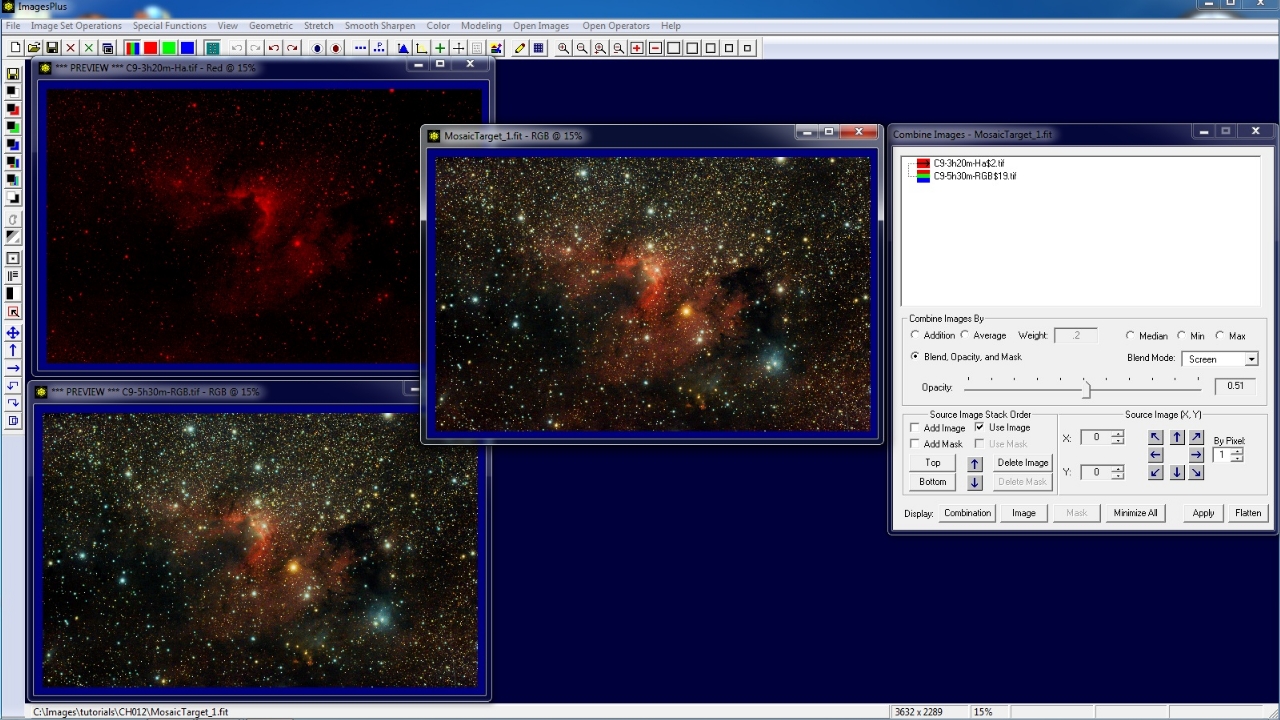
Step 3) Combine H-alpha and RGB Images to Enhance Red
Special Functions | Combine Images & Mosaic is used to layer the red H-alpha image on top of the processed color RGB image to enhance red. Screen blend mode with opacity = 0.51 is used to blend the color RGB and H-alpha layers.
See Quick Guide to Combine Images & Mosaic Layers for examples and details on using layers with blend modes, opacity, and masks.
Tutorials on multiple luminance layering, combining H-alpha with color, and many other topics can be found at the main image process tutorial page.
 |
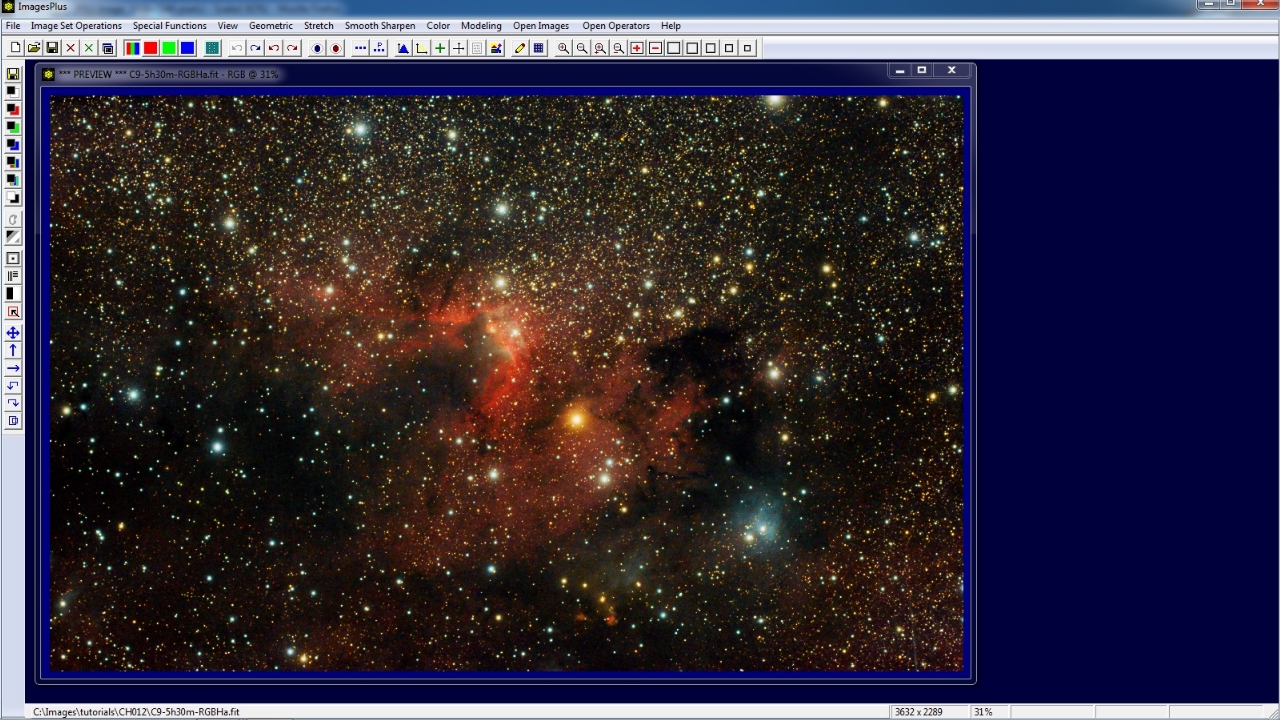
Step 4) Refine H-alpha and RGB Combination Image
Color RGB image with H-alpha layered on top to enhance red.
 |
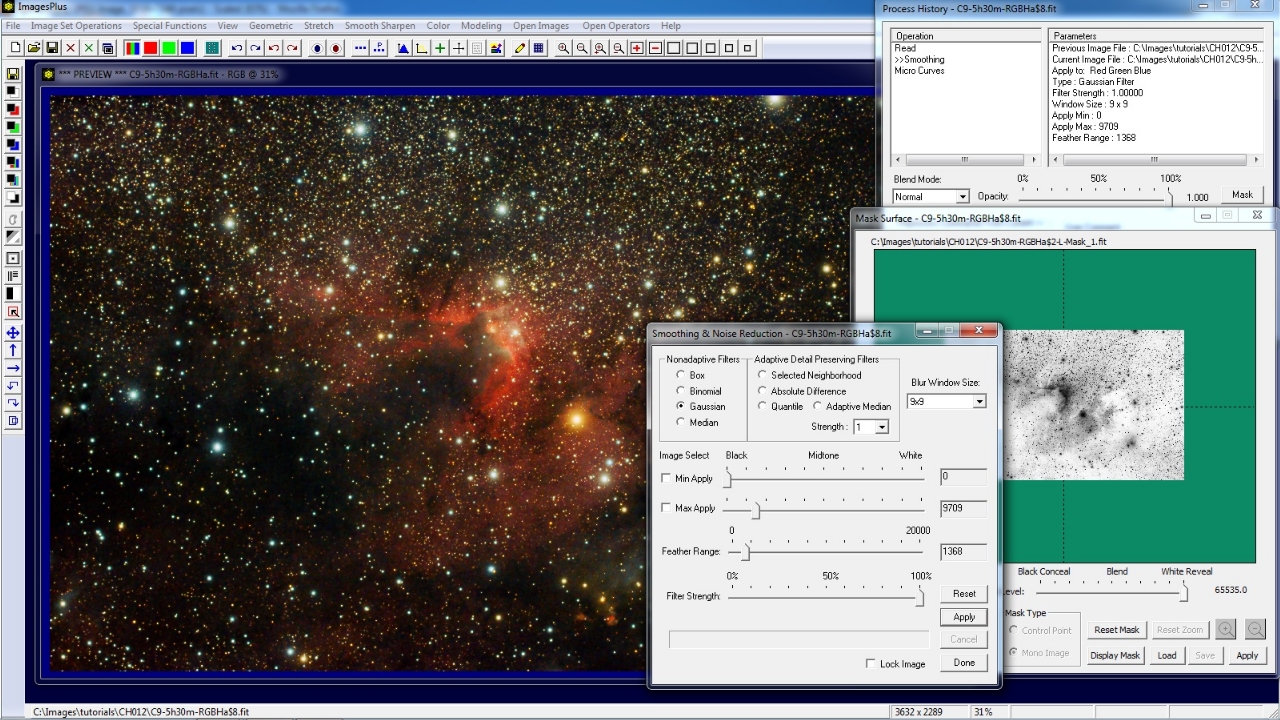
The red data added noise to the dark background. Smooth Sharpen | Smoothing & Noise Reduction is used with an inverse luminance mask to smooth the dark background.
 |
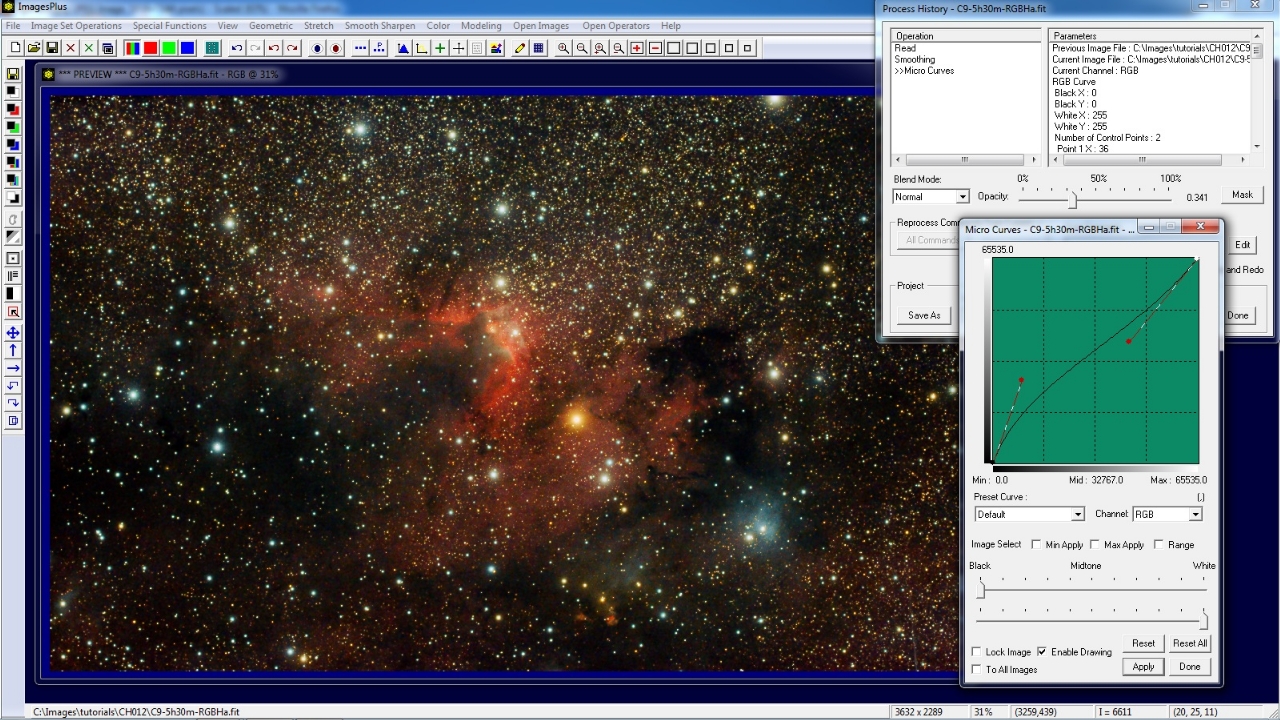
Mild contrast and brightness increase is appled with Micro Curves.
 |
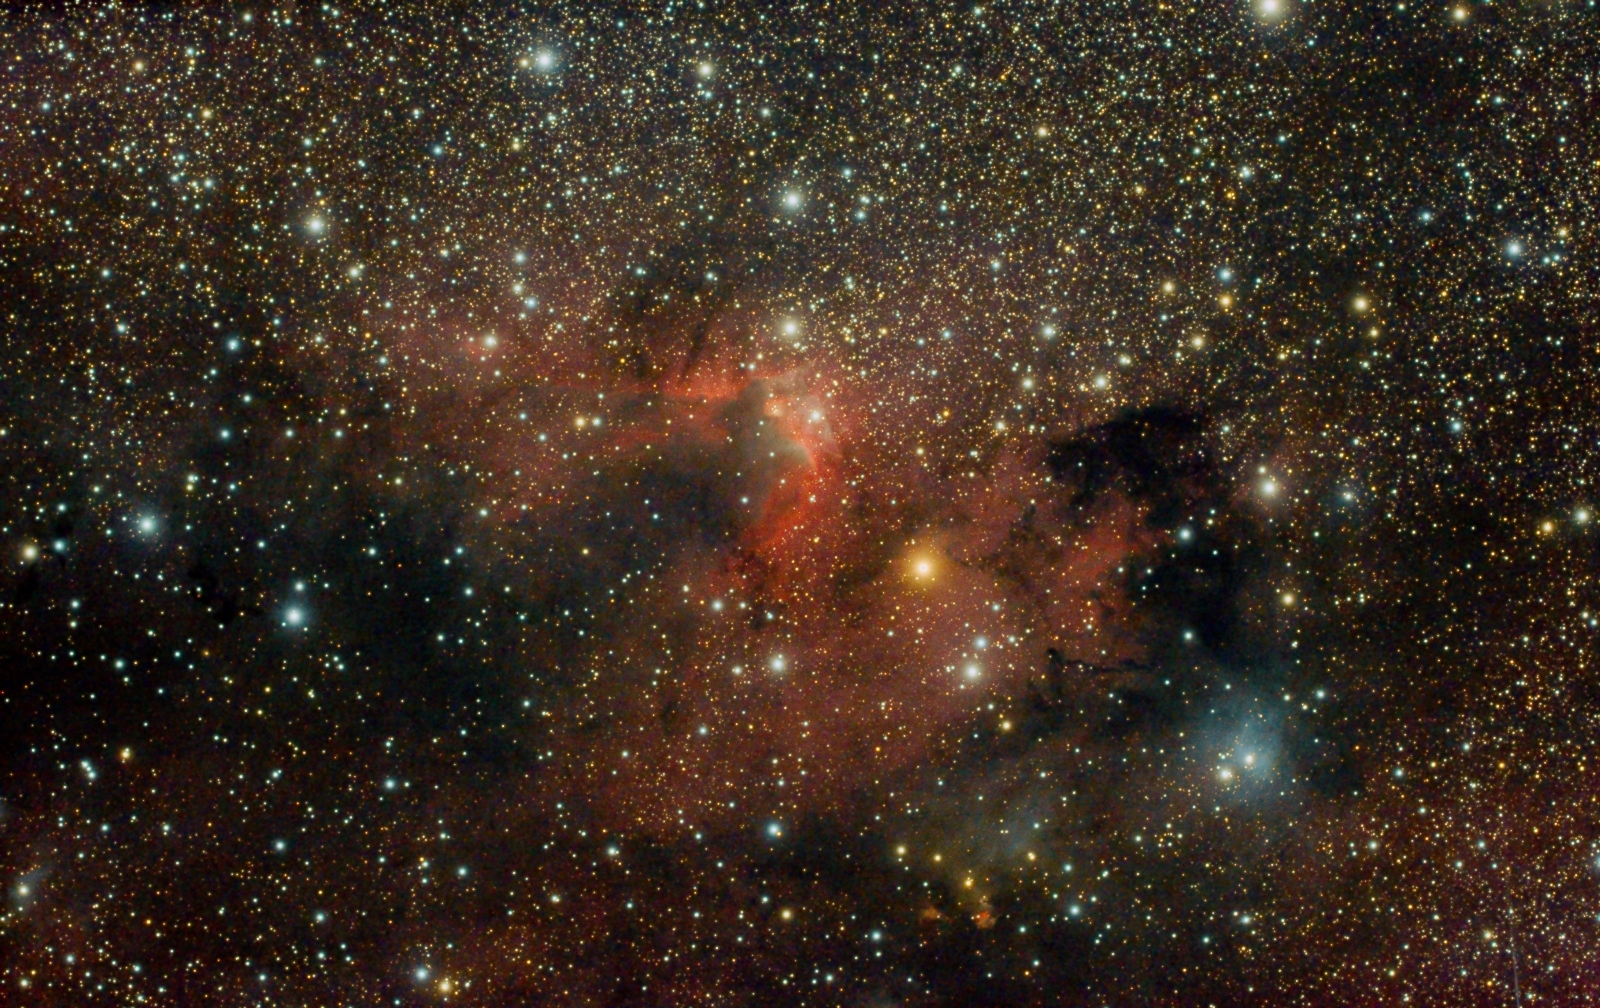
Final image with H-alpha and RGB data.
 |
Copyright © 2012 MLUnsold Digital Imaging. All Rights Reserved.