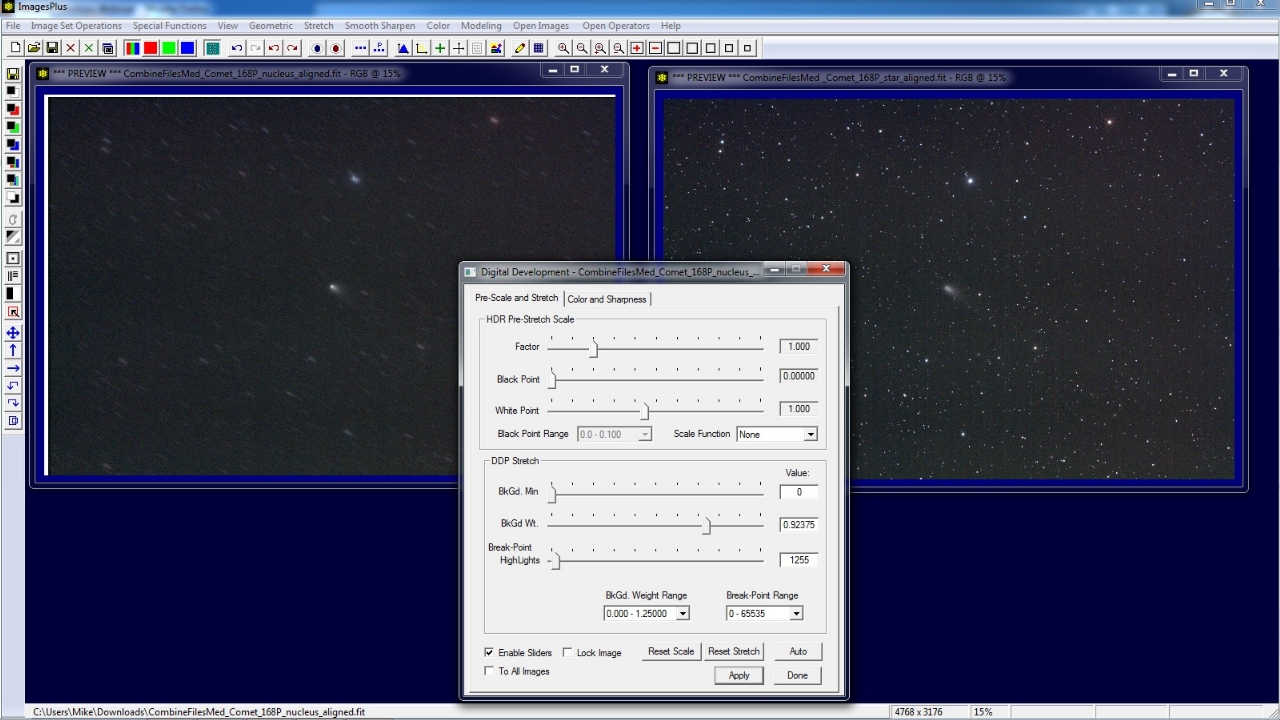
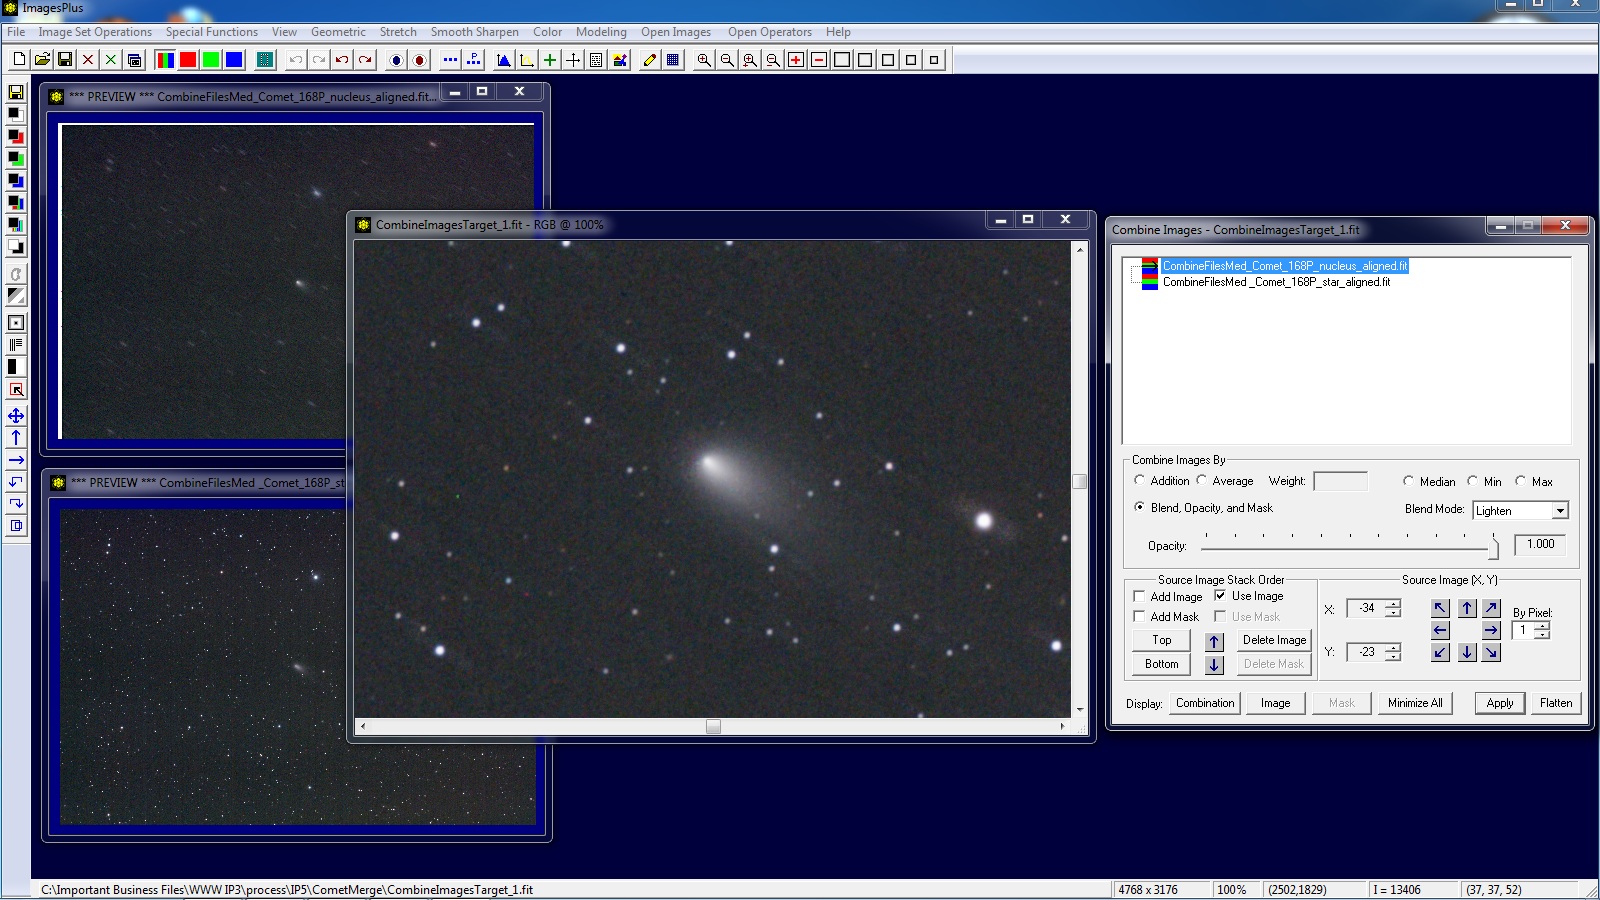
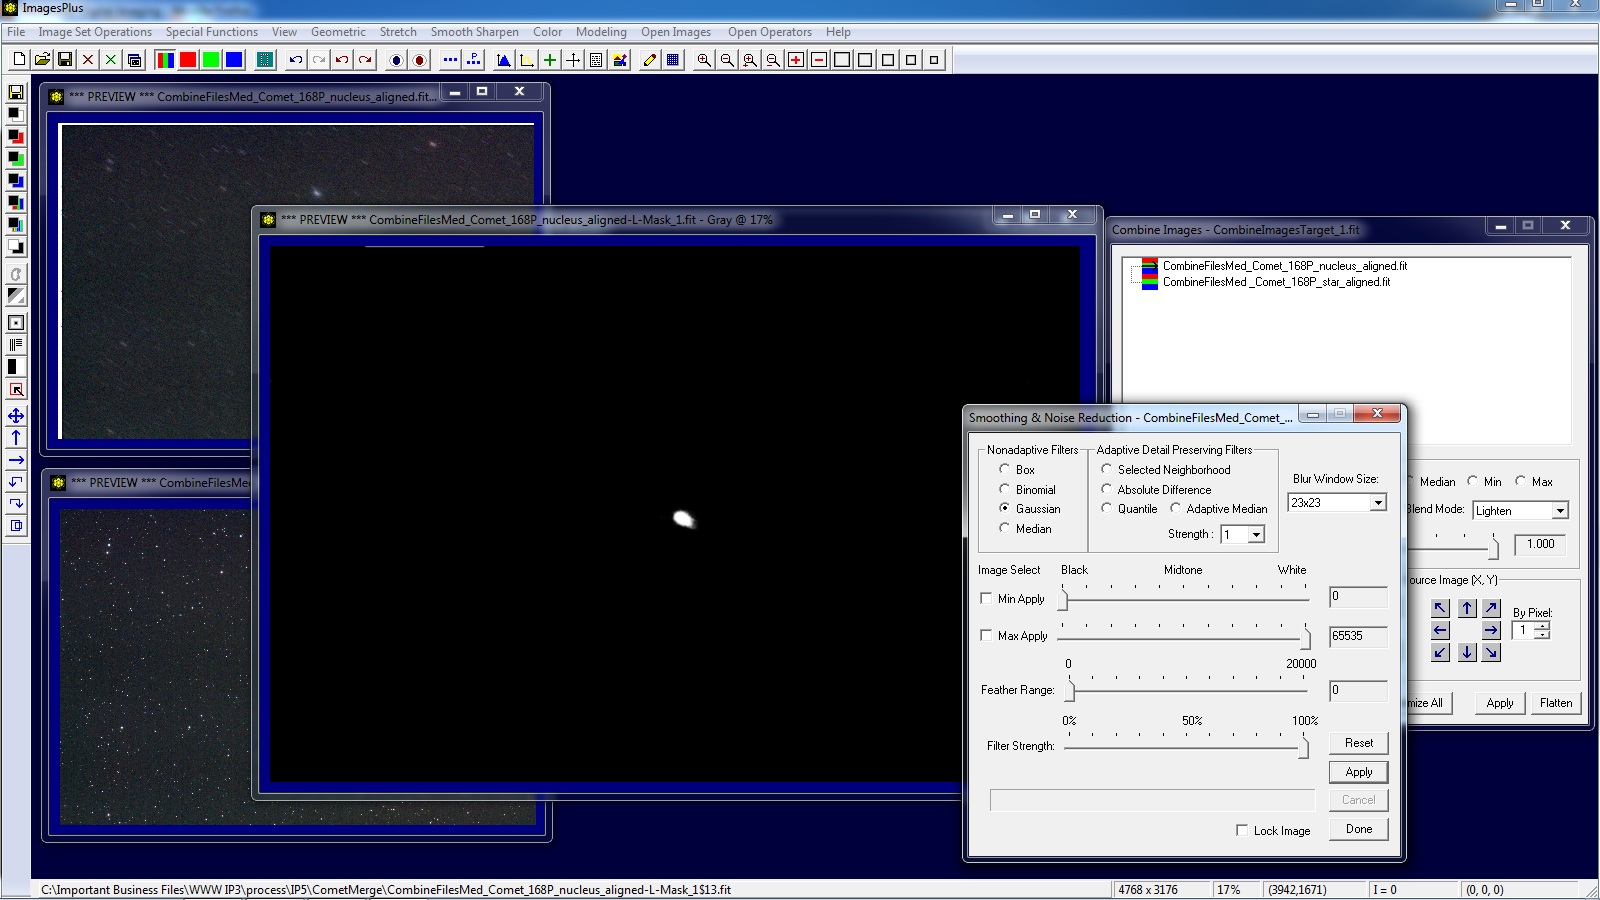
Merge Star Aligned and Comet Aligned Images using a Layer Mask

A common processing problem when working with a set of images of a comet is to create an image with fixed stars and fixed comet. To solve the problem first use Image Set Operations | Auto Image Set Processing to calibrate, convert to color, and normalize the set of images of the comet. Next use Image Set Operations | Align Files | Align TSR to align the set of images using the same star from each image so that stars are fixed and the comet trails in the stacked image. Use the On Each option of Align TSR and select the same one or two stars from each image in the set. Stack the star aligned images using Image Set Operations | Combine Files with the median option. Median stacking will reduce noise in the star aligned image and also minimize the size of the comet. Align the same set of calibrated comet images a second time using Image Set Operations | Align Files Align TSR with the On Each one point option and select the nucleus of the comet from each image. Use Image Set Operations | Align Files | Combine Files to median combine the comet nucleus aligned images to create an image with fixed comet and trailing stars. Median combination will smooth the comet and minimized the star trails. At this point you will have two images created from the same set of images of the comet.

Here are the basic steps for merging an image with fixed comet and trailing stars with an image of fixed stars and trailing comet.


Step 1) Stretch the Star Aligned & Comet Nucleus Aligned Images


The same Stretch | Digital Development functions is applied to the comet nucleus aligned image left and star aligned image right.


Step 2) Layer the Stretched Images using Combine Image & Mosaic


Use Special Functions | Combine Images Using | Blend Mode, Opaity, and Masks to setup Combine Image & Mosaic layers using the two stacked images of the comet. Use the up and down arrows on Combine Images & Mosaic to place the star aligned image at the bottom of the layer tree and the comet nucleus aligned image at the top of the layer tree.


Change blend mode on the comet nucleus aligned image at the top of the layer tree from Normal to Lighten so that the comet is visible from both image layers.


Step 3) Align Comet


Select the top comet nucleus image in the layer tree of Combine Images & Mosaic. Use the Zoom 100% button on the top horizontal toolbar to zoom the combination image to 100%. Center the comet in the combination image using the scroll bars. Note that the comet nuclei are not aligned since one image was aligned on a star and the other on the nucleus of the comet. To align the comet nuclei right click on the nucleus shown by the red dot on the combination image then drag the mouse to the blue dot and release.


The comet nuclei are now aligned in the combination image. Note that stars have faint trails. The star trails will be removed from the combination image using a mask applied to the top comet nucleus aligned image layer.


Step 4) Create Comet Mask


Click on the comet nucleus aligned image to make it the active image. Press the Luminance Mask button second from the top of the left vertical toolbar to create a mask from the comet nucleus aligned image.


Press the Threshold button 13th down from the top on the left vertical toolbar to open the Threshold tool. Apply Threshold to the mask and adjust until only the comet and brighter objects are shown.


Open the Local Smooth, Sharpen, and Paint tool using the 14th button down from the top on the left vertical toolbar. Set Fill With Intensity Value 0 and Effect Size 301 x 301. Left click on the mask and move the red square around to remove all but the comet.


Open the Smoothing & Noise Reduction tool using the 11th button down from the top on the left vertical toolbar. Apply a Gaussian blur of 23 x 23 to the mask to smooth it and improve blending. The mask is now ready to use with Combine Images & Mosaic layers.


Step 5) Apply Mask


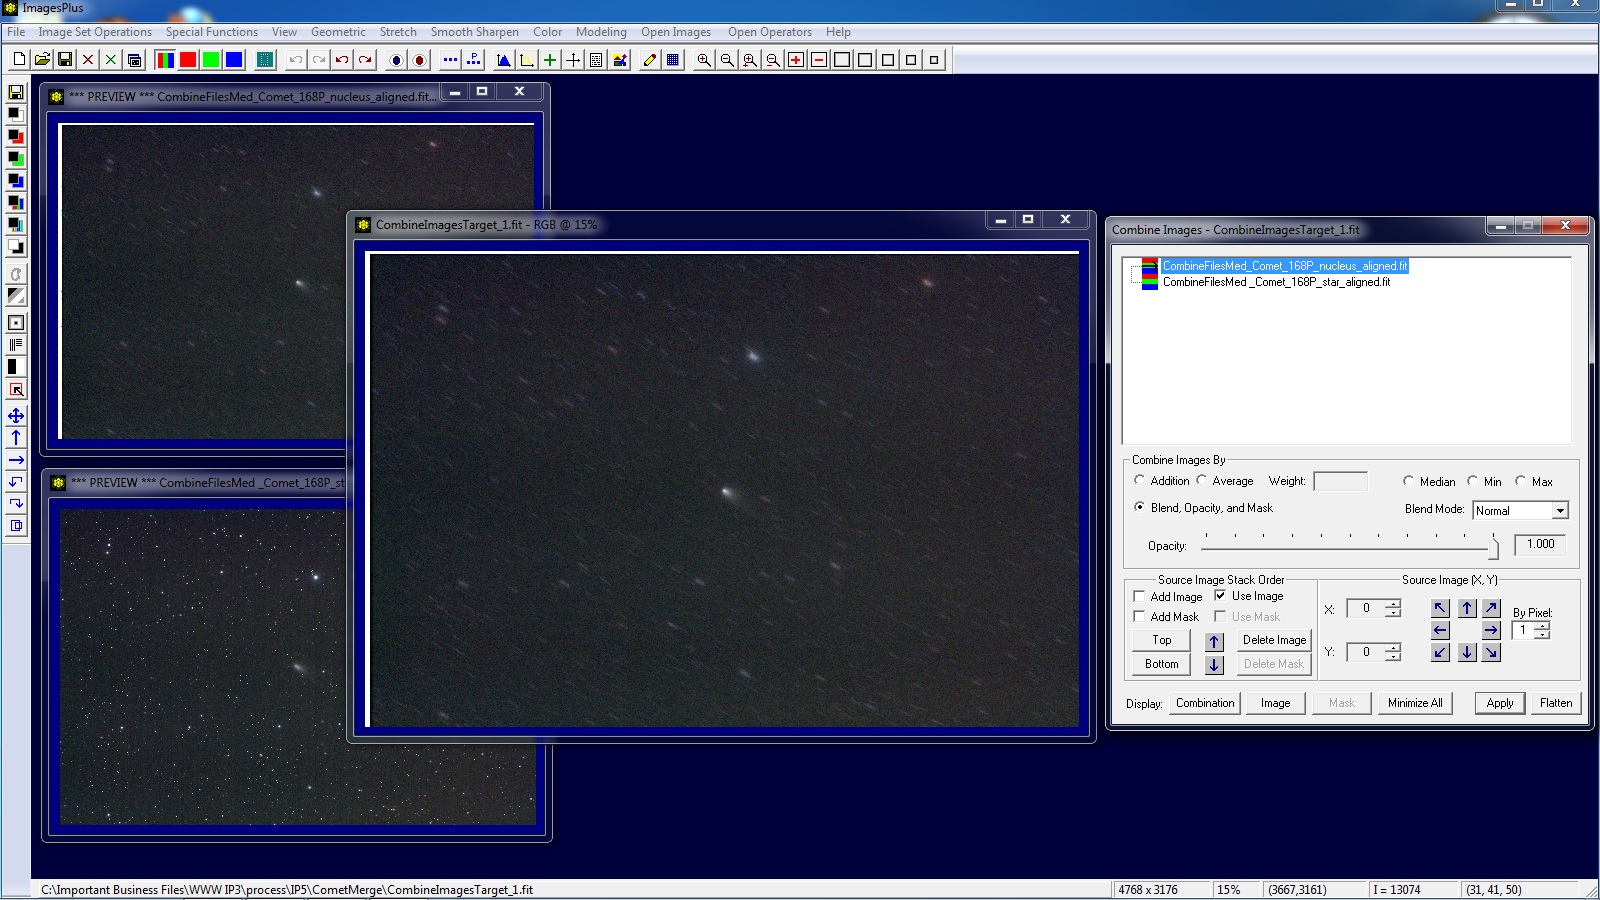
For display the two comet images and mask are arranged to match the layer tree shown on the Combine Image & Mosaic window. The combination image is zoomed to 100% and the comet is centered. On the Combine Images & Mosaic tool change blend mode from Lighten to Normal. Since normal is the blend mode only the top nucleus aligned image is shown by the combination image. Select the top nucleus aligned image in the layer tree and check the Add Mask box. 
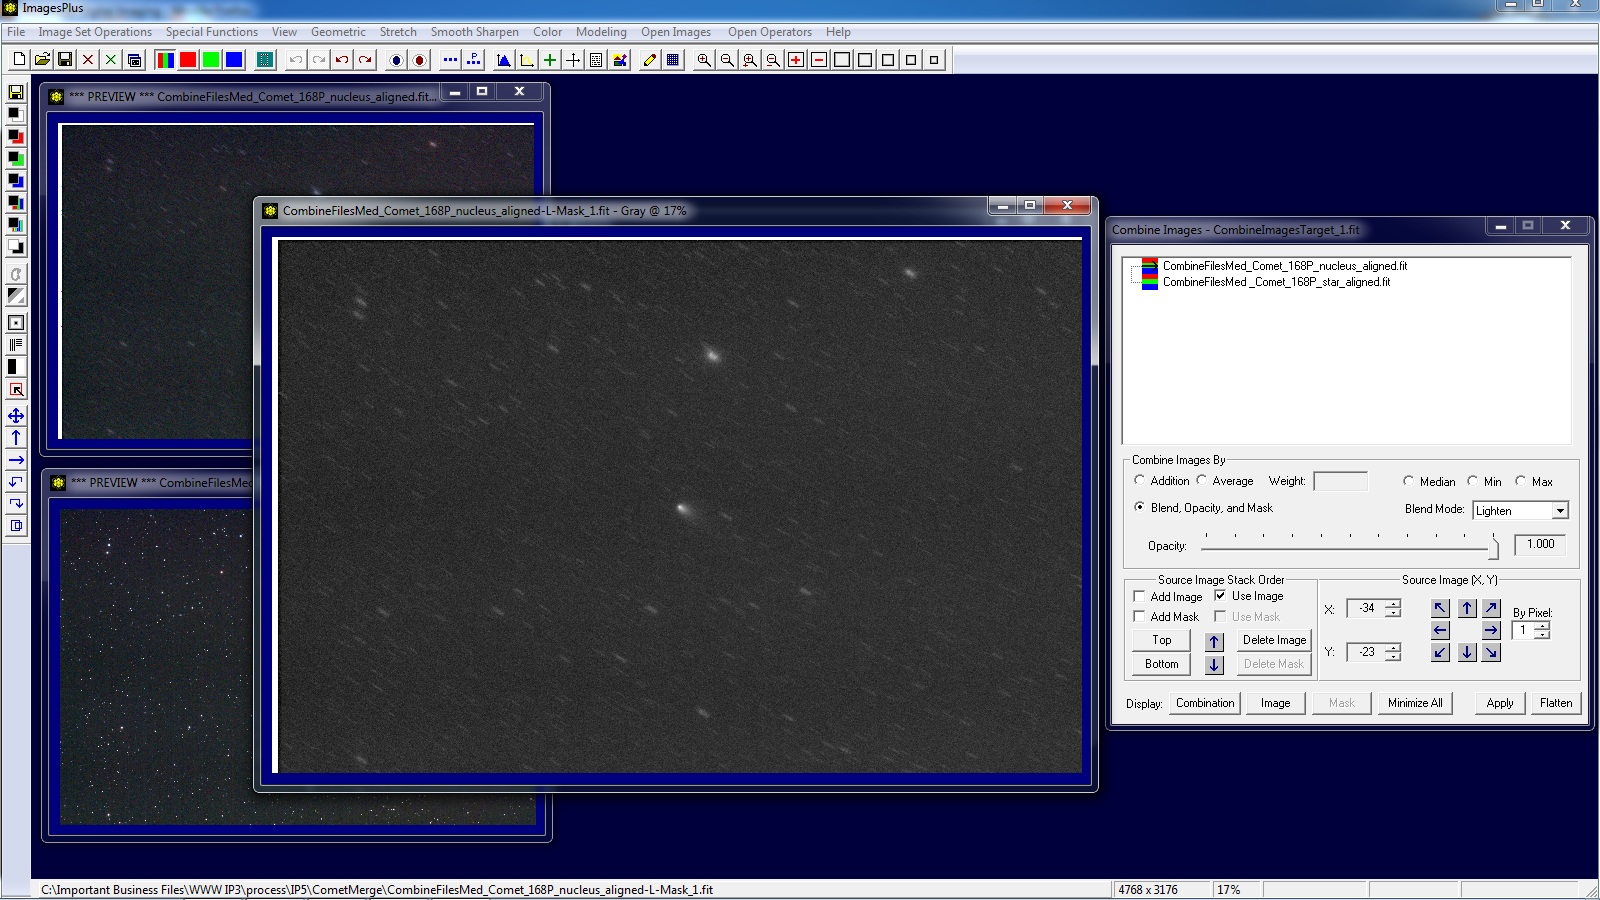
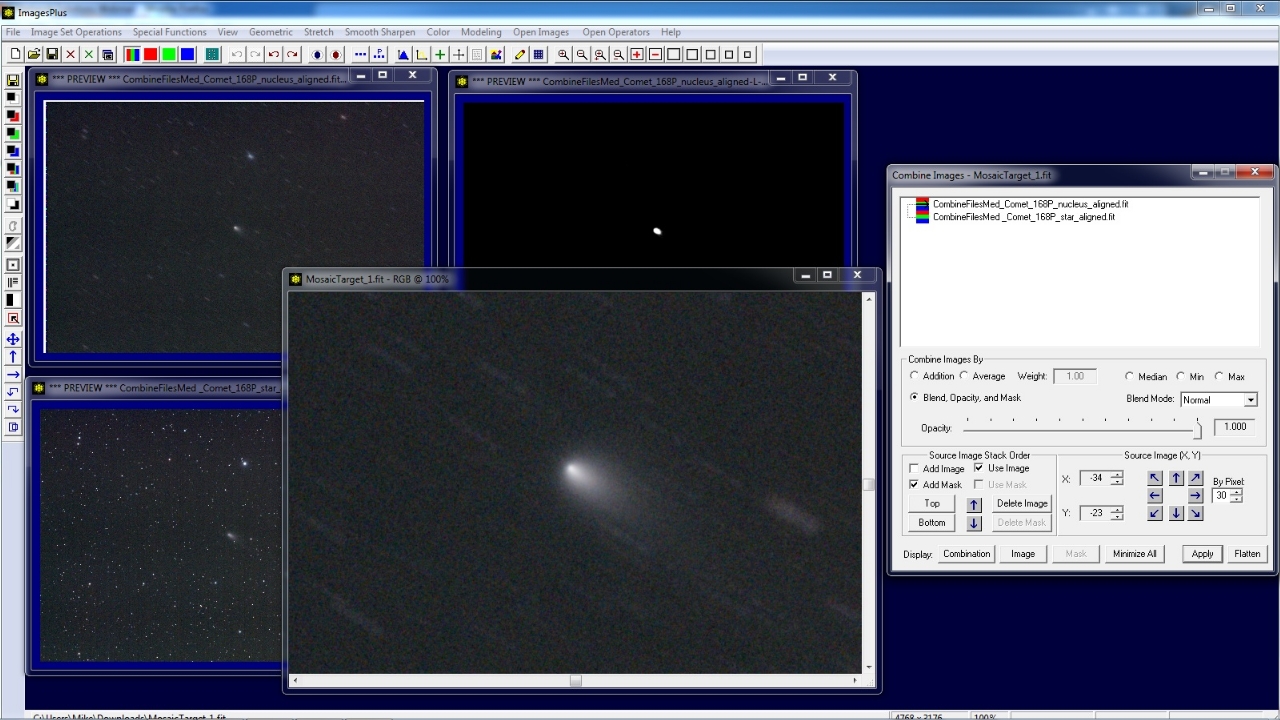
Now left click on the mask image to assign the mask to the top image layer.


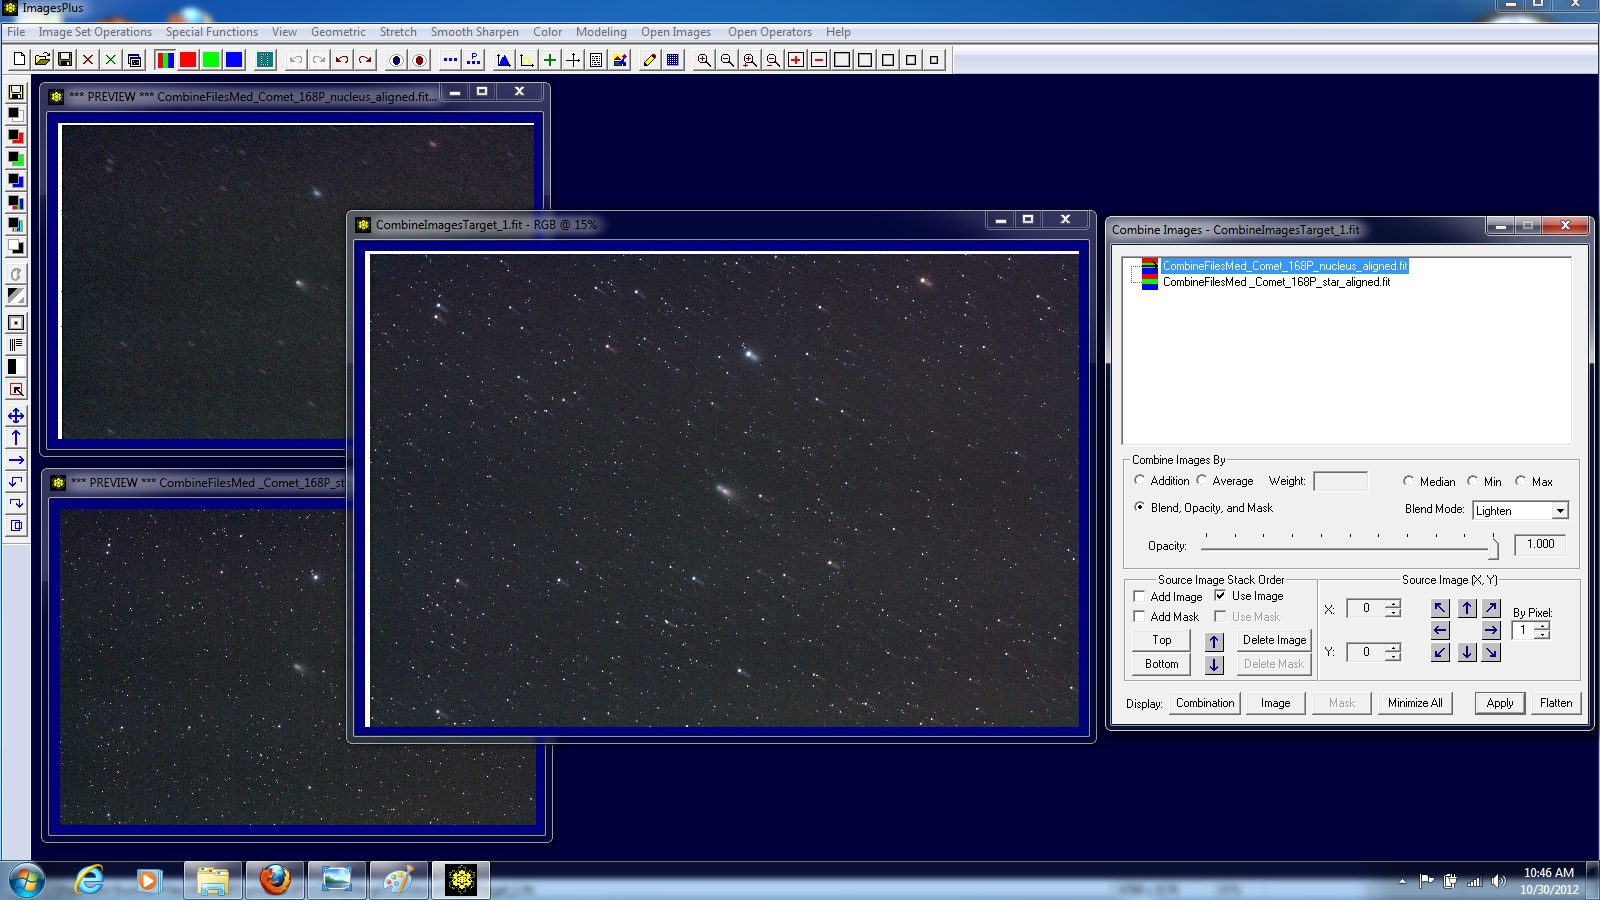
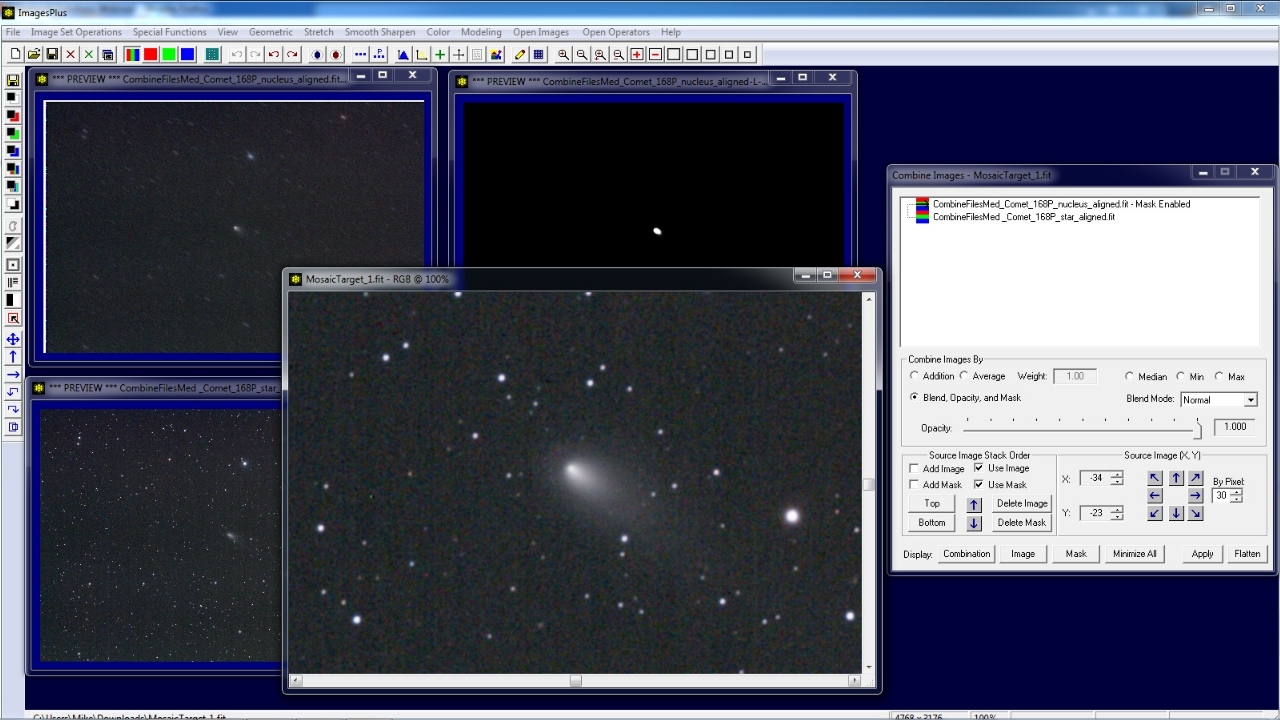
The mask blends the comet from the top layer with the stars from the bottom layer.


Comet as it appears in star aligned image on left. Combination image on right with fixed stars and comet.


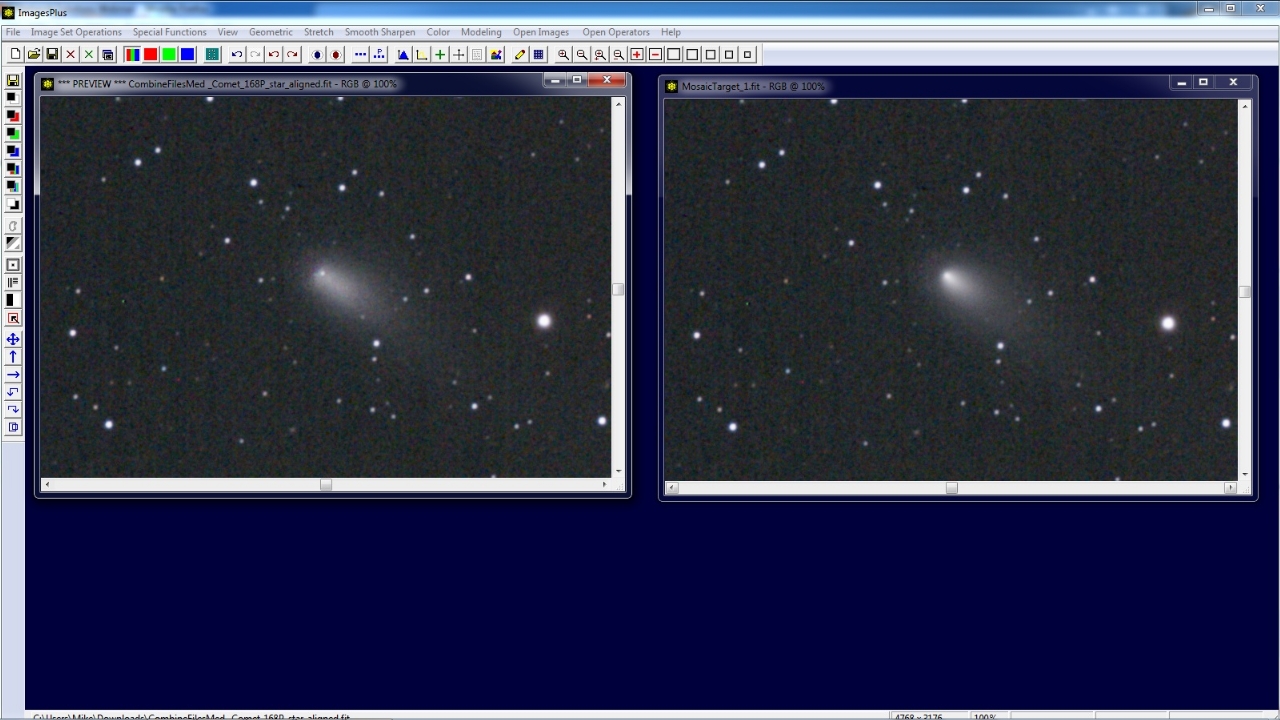
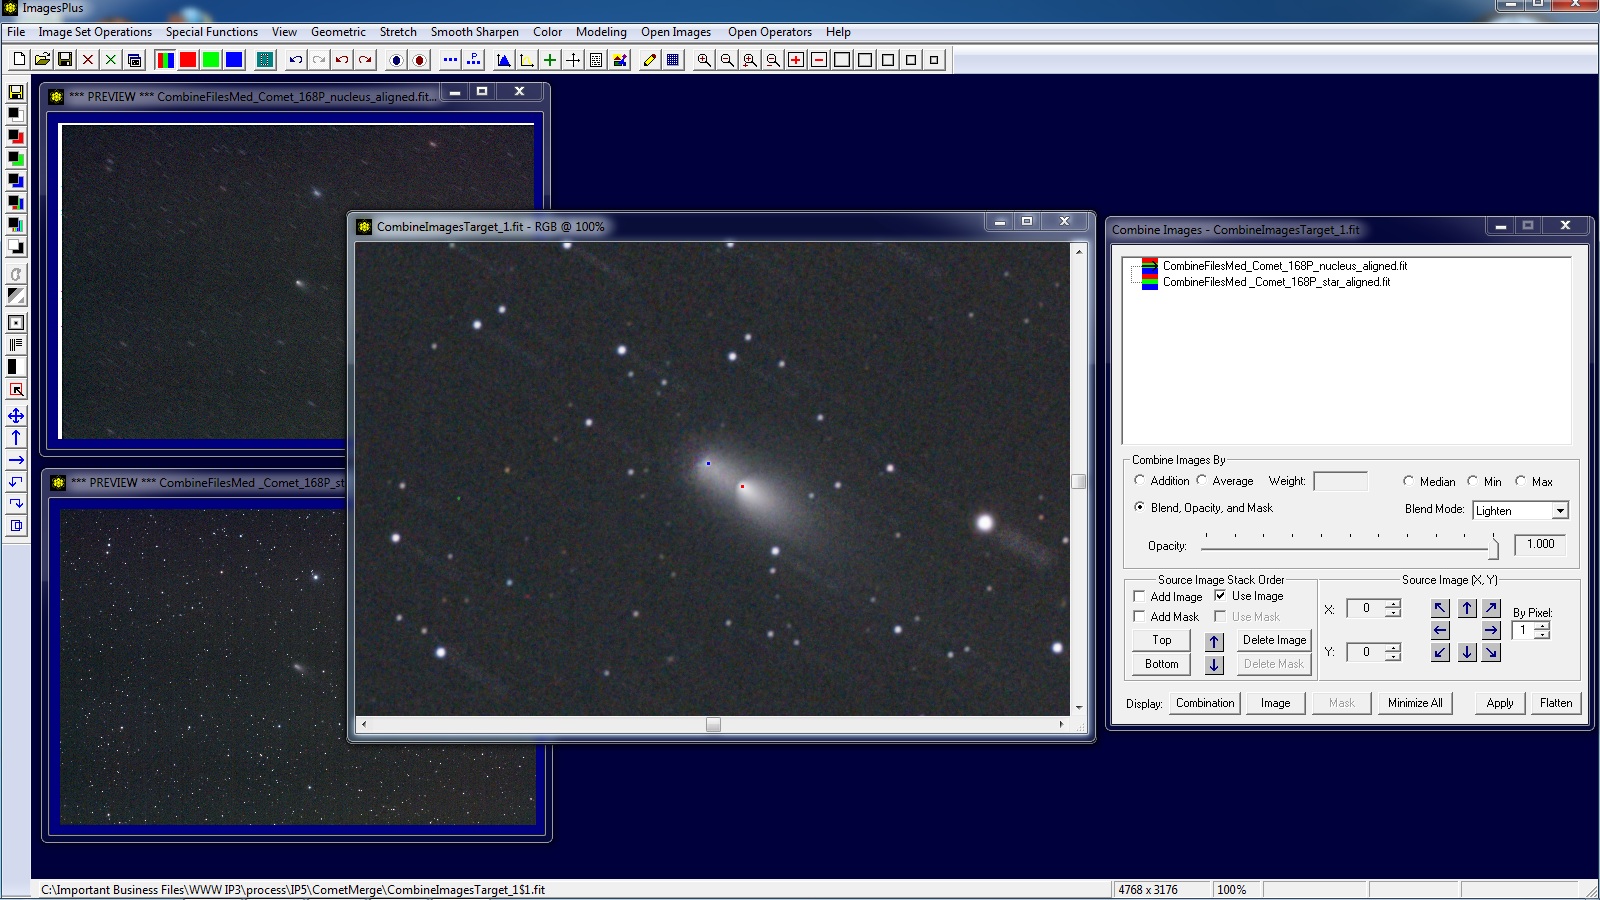
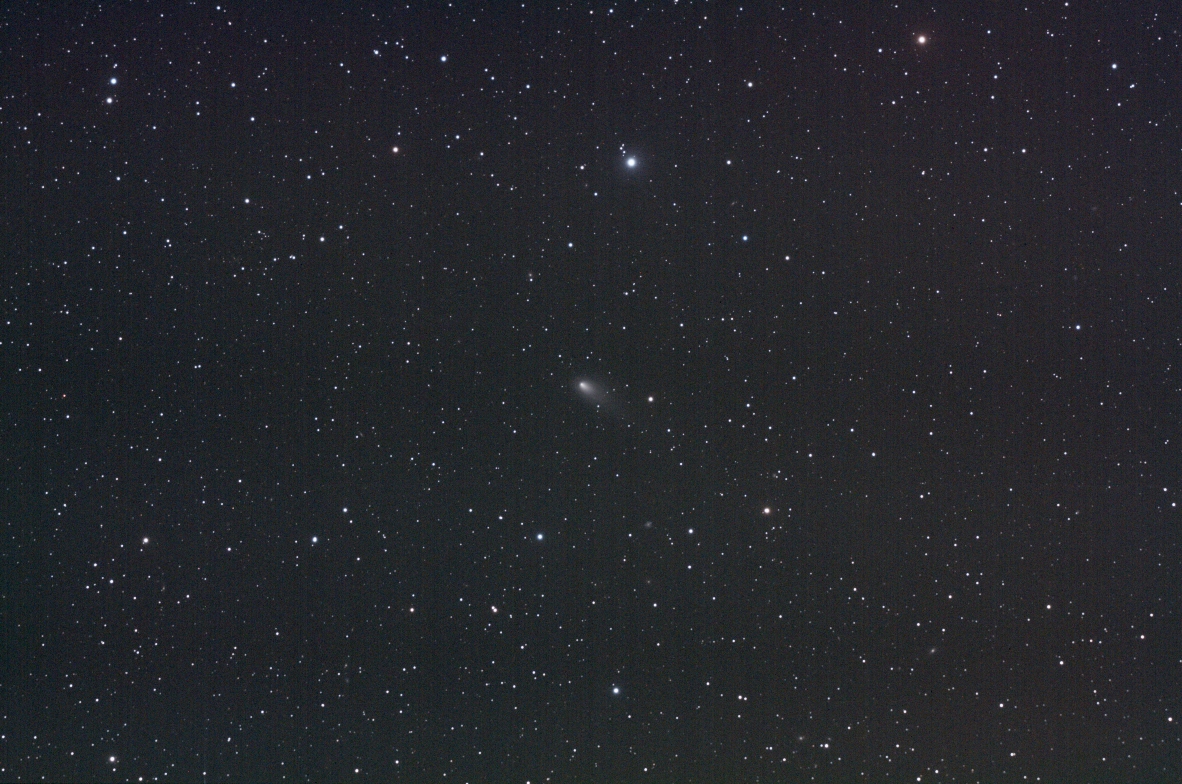
Final image with fixed stars and fixed comet.


Copyright © 2012 MLUnsold Digital Imaging. All Rights Reserved.